Free Crochet Mouse Pattern
This adorable free crochet mouse pattern is a breeze to make, and you'll have it ready in no time – about half an hour, tops! It is a blast to create and hits the sweet spot of being a delightful present that won't break the bank.
It is ideal for babies and toddlers, its soft and snuggly form is perfect for tiny hands to hold. And let's not forget about pets – cats, in particular, will have a field day with this as a playful toy. Whether it's a thoughtful gift for a little one or a fun surprise for your furry pal, this crochet mouse will surely bring smiles all around.
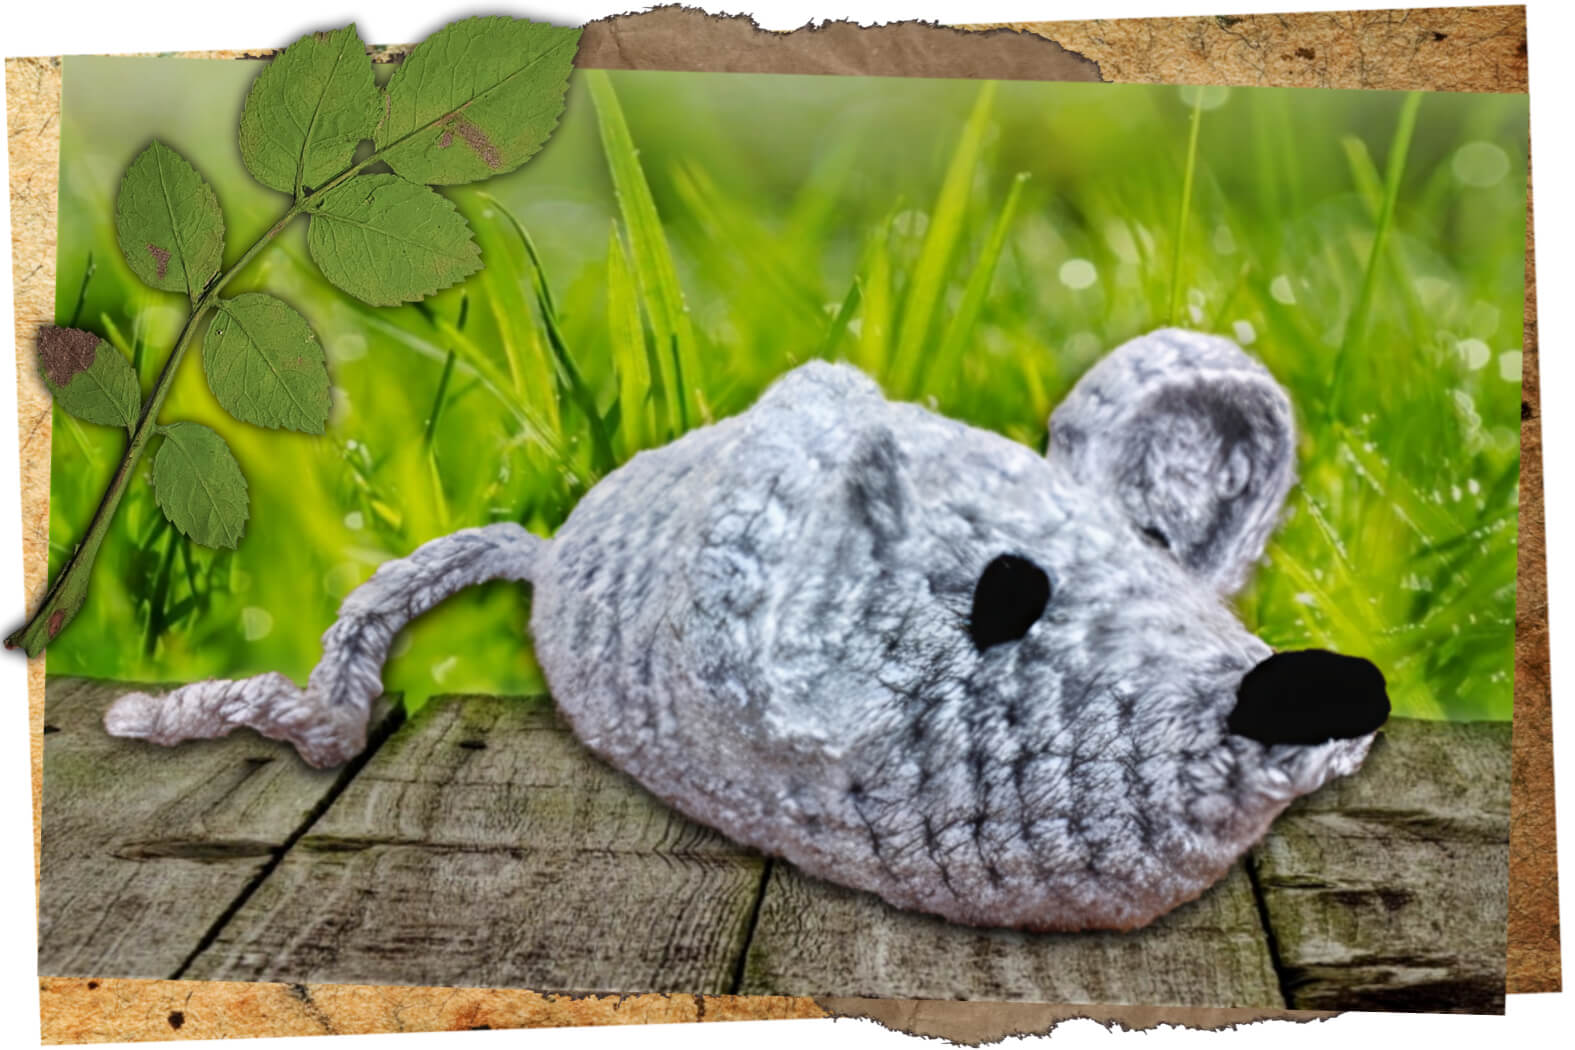
This free crochet mouse pattern is a real gem for beginners, primarily utilizing the single crochet stitch. Focusing on this one technique is an accessible project that helps new crocheters practice and perfect their stitch consistency without overwhelming them with too many new skills at once.
I chose some luxuriously soft, worsted-weight yarn from my collection for this project, which proved wise. Not only does worsted-weight yarn create a snug, plush texture just right for a cuddly toy, but it also means you won't need much yarn.
A small quantity is sufficient to complete the mouse, making this an economical craft that's light on materials but heavy on charm. Whether you're looking to use up those odd bits of yarn lying around or you're mindful of staying within supplies, this pattern fits the bill perfectly.
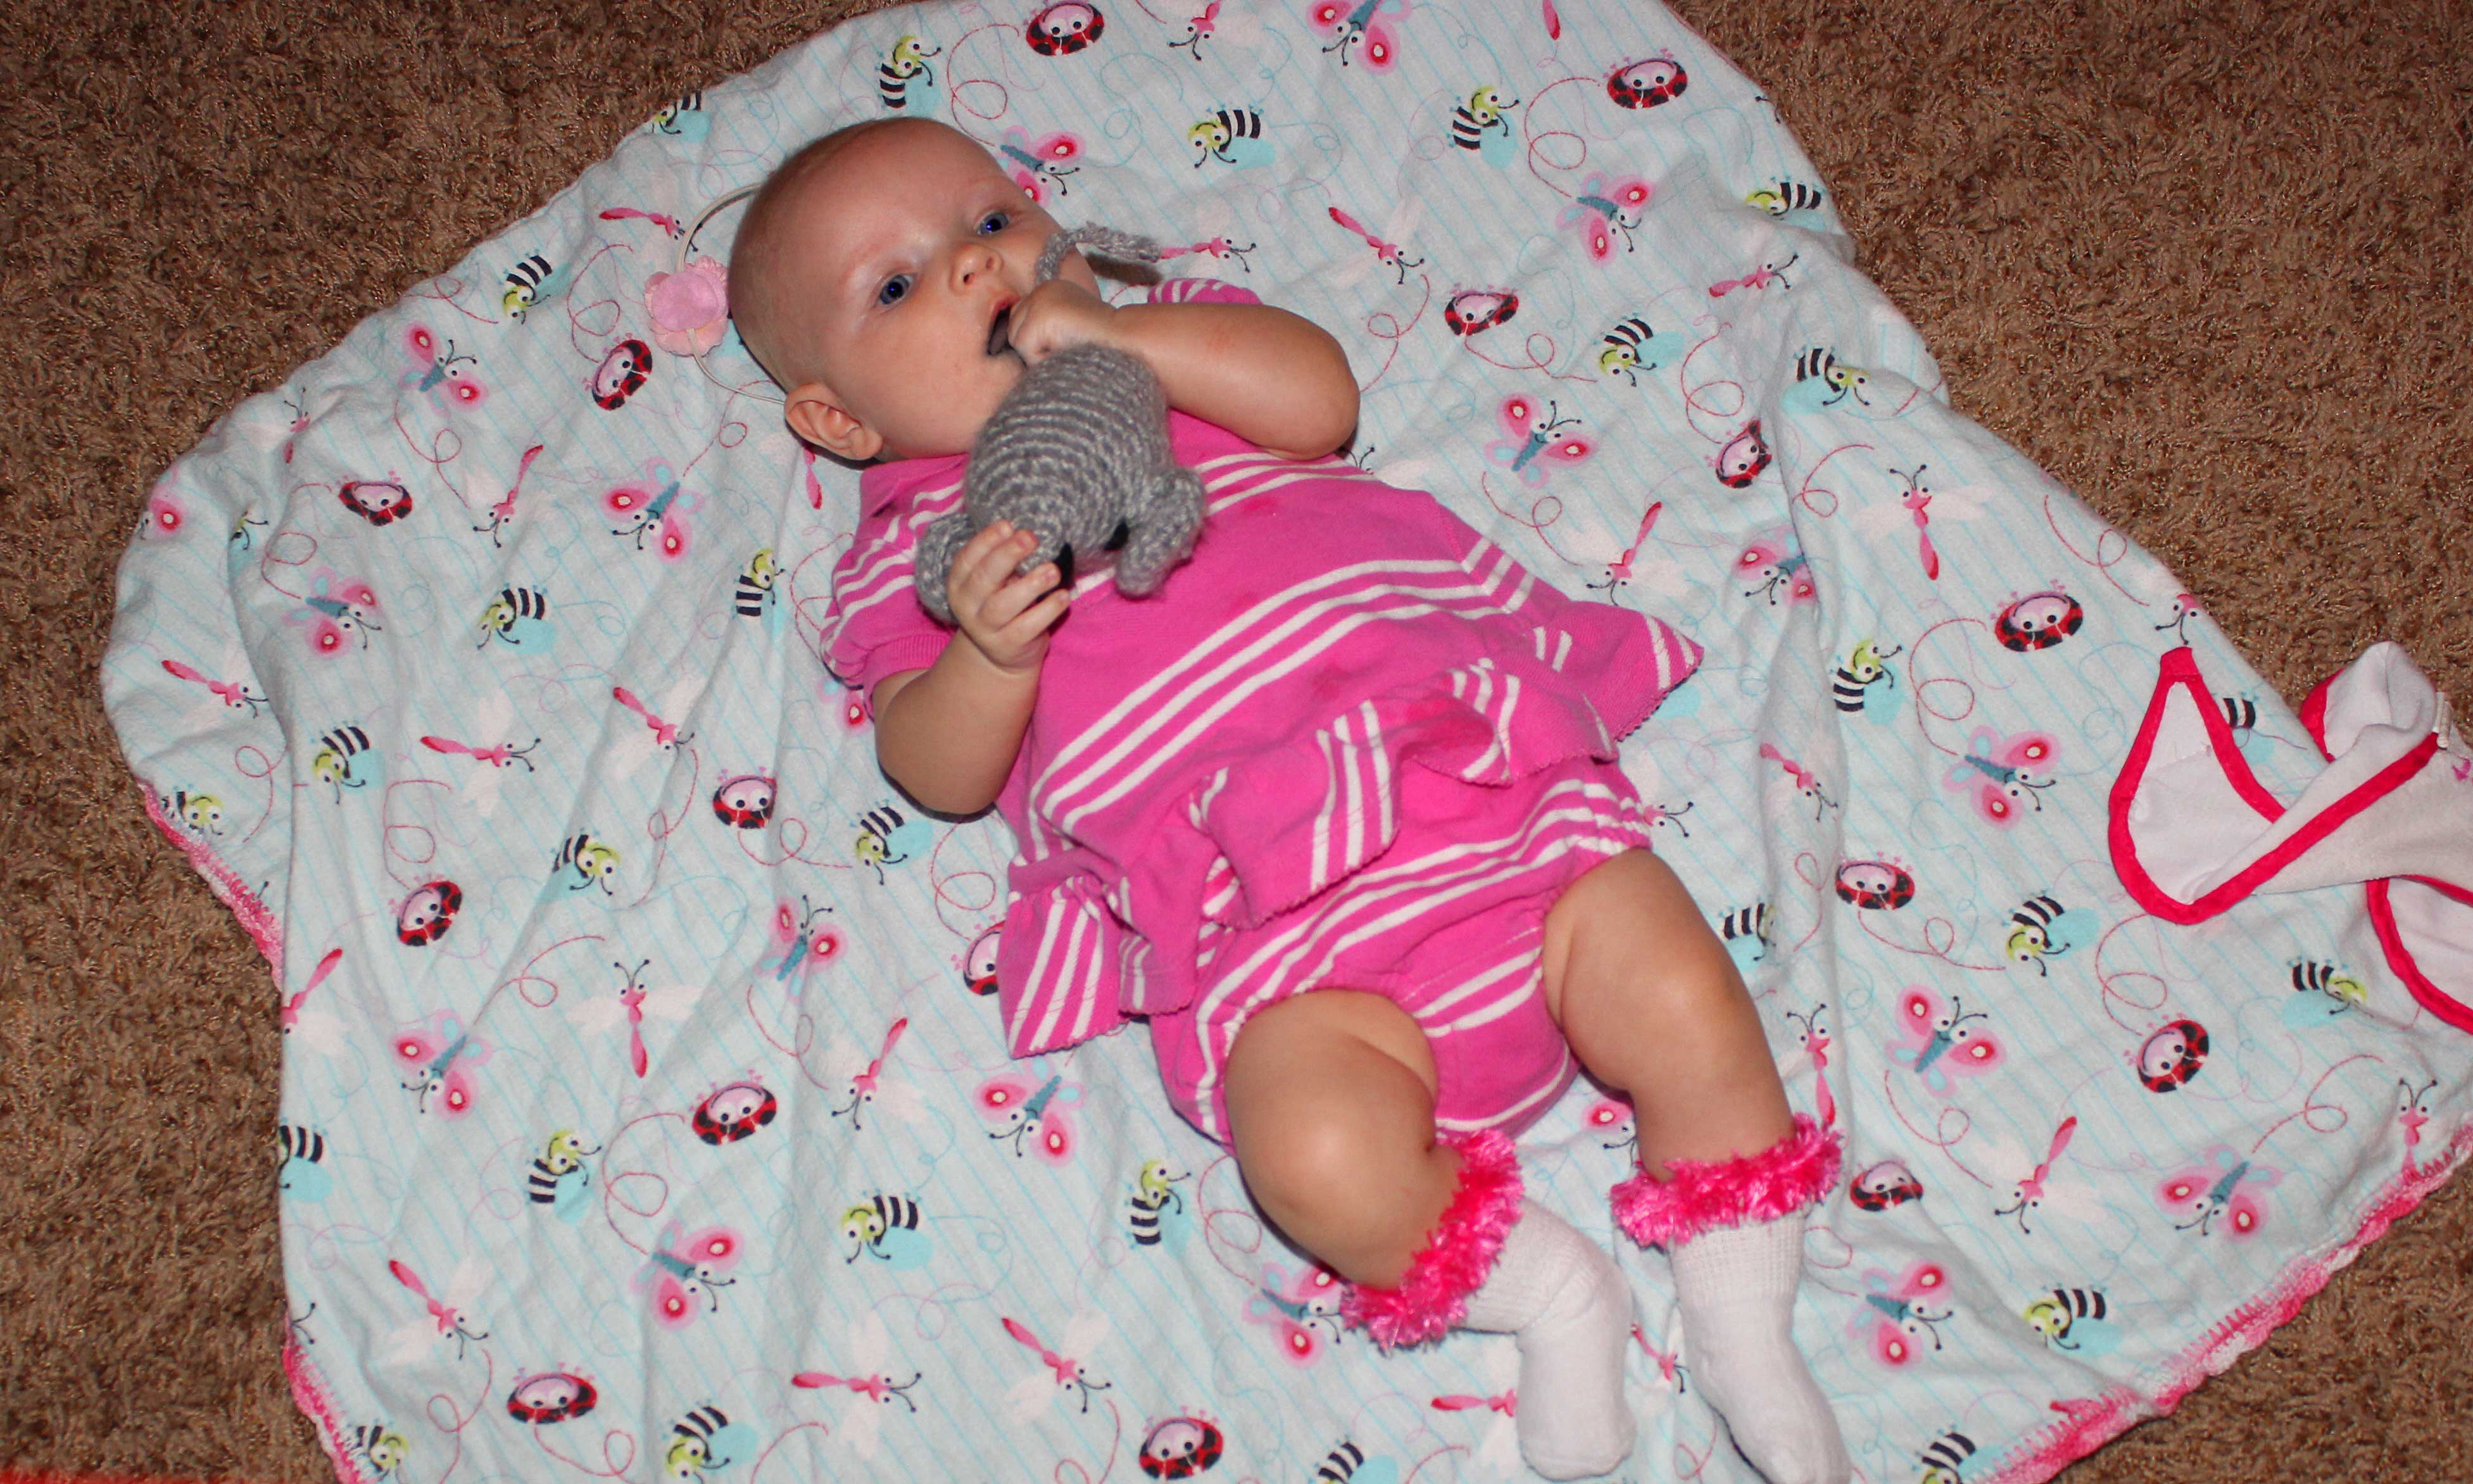
My Little Girl Loves Her Crocheted Mouse Toy!
After I was done making the mouse I gave it to my little girl to play with and she gave it tons of slobbery baby love! When I attempted to wipe the slobber off she freaked out was pretty upset with me... so now she sleeps with it!
This post contains affiliate links, meaning I get a commission at no cost to you if you decide to purchase through my links. As an affiliate, I earn from qualifying purchases. Please read my Disclaimer for more information. Thank you for supporting this website, Bobbie
Free Crochet Mouse Pattern
Skill Level:
Easy
Materials Needed:
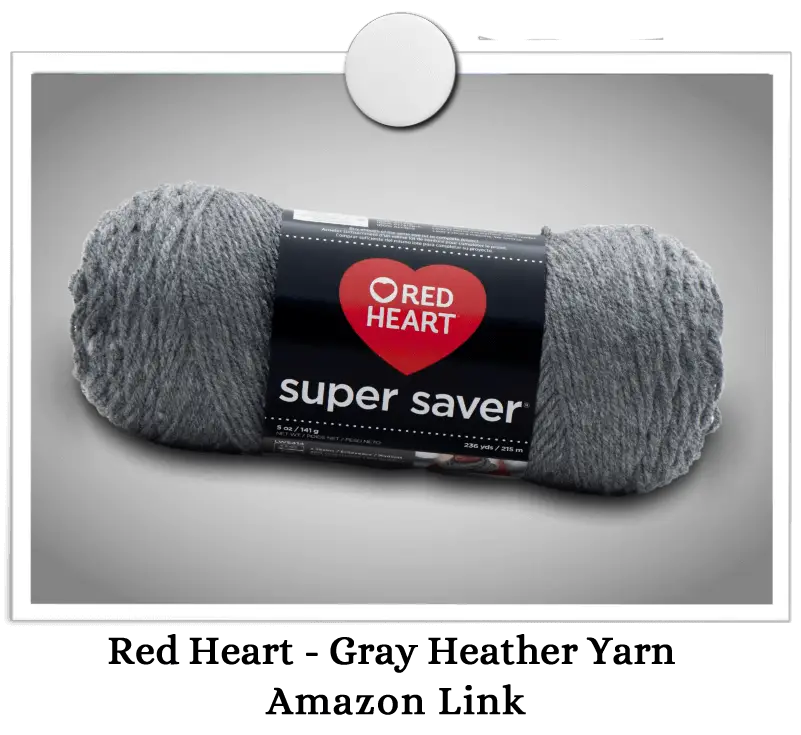
1. Yarn: #4 Worsted Weight (I used Red Heart)
A. Gray Heather
B. Black
2. Crochet Hook: H/8 - 5.00 mm
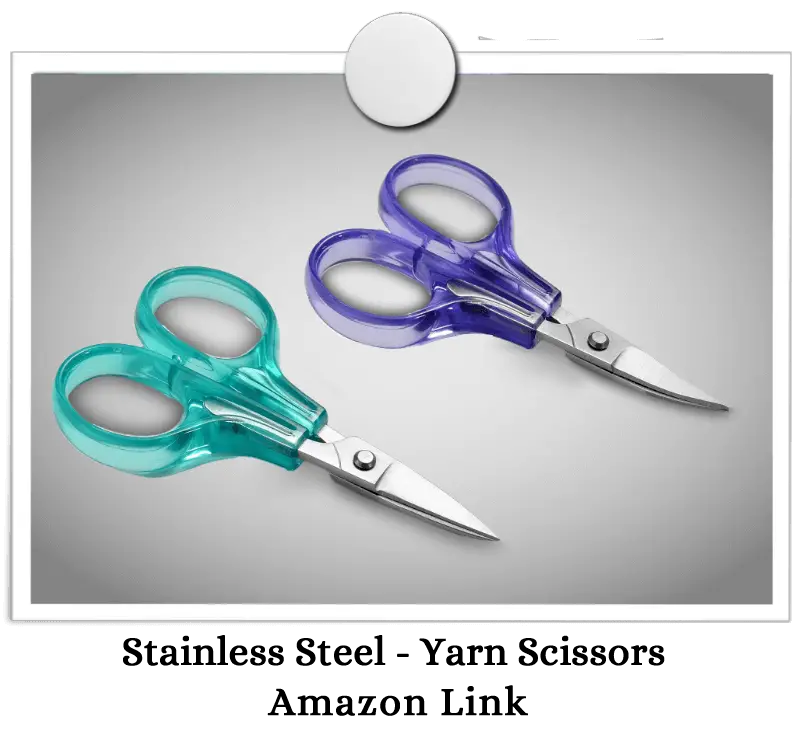
3. Yarn Needle: (blunt sewing needle with big eye)
Stitch Abbreviations:
sc – single crochet
sl st – slip stitch
ch – chain
Sc2tog – decrease
Finished Size:
4 inches long - 2 inches wide
Stitch Explanation:
Sc2tog: single crochet the next 2 stitches together.
Crochet Mouse Pattern Instructions
Instructions for the Mouse Body
Rnd 1: With color A start with a magic ring, place 6 sc into ring, join by using a sl st into first sc (6 sc).
Rnds 2-3: sc in each sc around.
Rnd 4: 2 sc in each sc around (12 sc).
Rnd 5: sc in each sc around (12 sc).
Rnd 6: (sc in next sc, 2 sc in next sc) repeat 6 times (18 sc).
Rnd 7: sc in each sc around (18 sc).
Rnd 8: sc in next 10 sc, 2 sc in next 8 sc (26 sc).
Rnds 9-11: sc in each sc around.
Rnd 12: (sc in next 4 sc, sc2tog, sc in next 5, sctog) repeat twice (22 sc).
Start stuffing the mouse.
Rnd 13: sc in each sc around (22 sc).
Rnd 14: (sc in next 3 sc, sc2tog, sc in next 4 sc, sc2tog) repeat twice (18 sc).
Rnds 15-17: sc in each sc around.
Rnd 18: (sc in next sc, sc2tog) repeat 6 times (12 sc).
Crochet Mouse Pattern Continued
Continue stuffing the mouse firmly.
Rnd 19: sc in each sc around (12 sc).
Rnd 20: (sc2tog) repeat 6 times (6 sc).
Sl st into next sc and fasten off.
Ear: (make 2)
Rnd 1: With color A start with a magic ring, place 6 sc into ring, join by using a sl st into first sc (6 sc).
Rnd 2: 2 sc in each sc around (12 sc).
Rnd 3: (sc in next sc, 2 sc in next sc) repeat 6 times (18 sc).
Rnd 4: sc in each sc around (18 sc).
Leave a 10 in tail for weaving and fasten off.
Tail:
Attach slip knot into the tail end of the mouse and ch 15.
Tip: I like to stitch the tail end of the slip knot into the chain as well.
Fasten off and weave in loose ends.
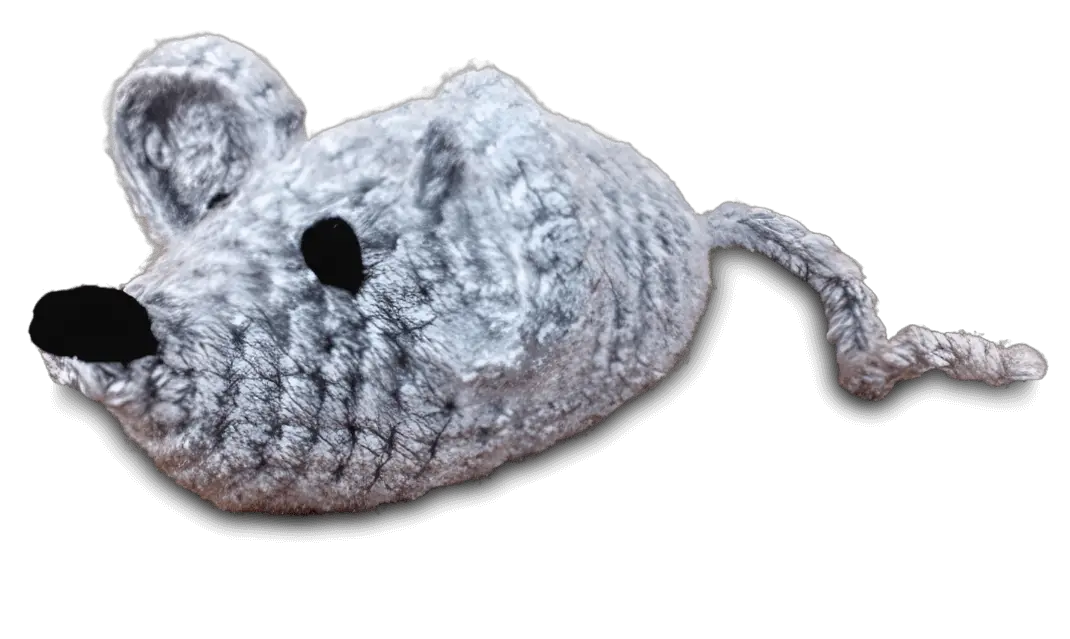
For Assembly
Note: Use the yarn needle to stitch and attach parts of the mouse together.
1. With color B, stitch in the eyes and nose.
2. Attach the ears to the head and stitch them into place.
3. The tail should already be in place.
I really hope you enjoyed this crochet mouse pattern! It’s a fun and adorable project perfect for a baby, a pet toy, or keeping it as a cute decoration. If you loved making this, be sure to check out more of my crochet patterns for even more creative inspiration.
Copyright: Please feel free to sell this finished item, just make sure to give crochetguru.com credit for the pattern.
Never sell, copy, publish or claim this pattern or any other pattern you find on this website as your own.
I hope you enjoy this free crochet mouse pattern, and if you have any questions or comments go ahead and voice your opinion in the comment box below.
