facebook-icon
instagram-icon
youtube-icon
etsy-icon
pinterest-icon
tiktok-icon

Crochet Snowman Hat Pattern

This crochet elf hat pattern makes the cutest Christmas photo prop... plus it would be a smash hit at any Christmas party!! To make this elf hat pattern, you'll need to choose two main colors (I used red and white) and an accent color (green). The elf pattern is straightforward, and the stitches I used are very simple!!

crochet-elf-hat-pattern-christmas

This post contains affiliate links, meaning I get a commission at no cost to you if you decide to purchase through my links. As an affiliate, I earn from qualifying purchases. Please read my Disclaimer for more information. Thank you for supporting this website, Bobbie

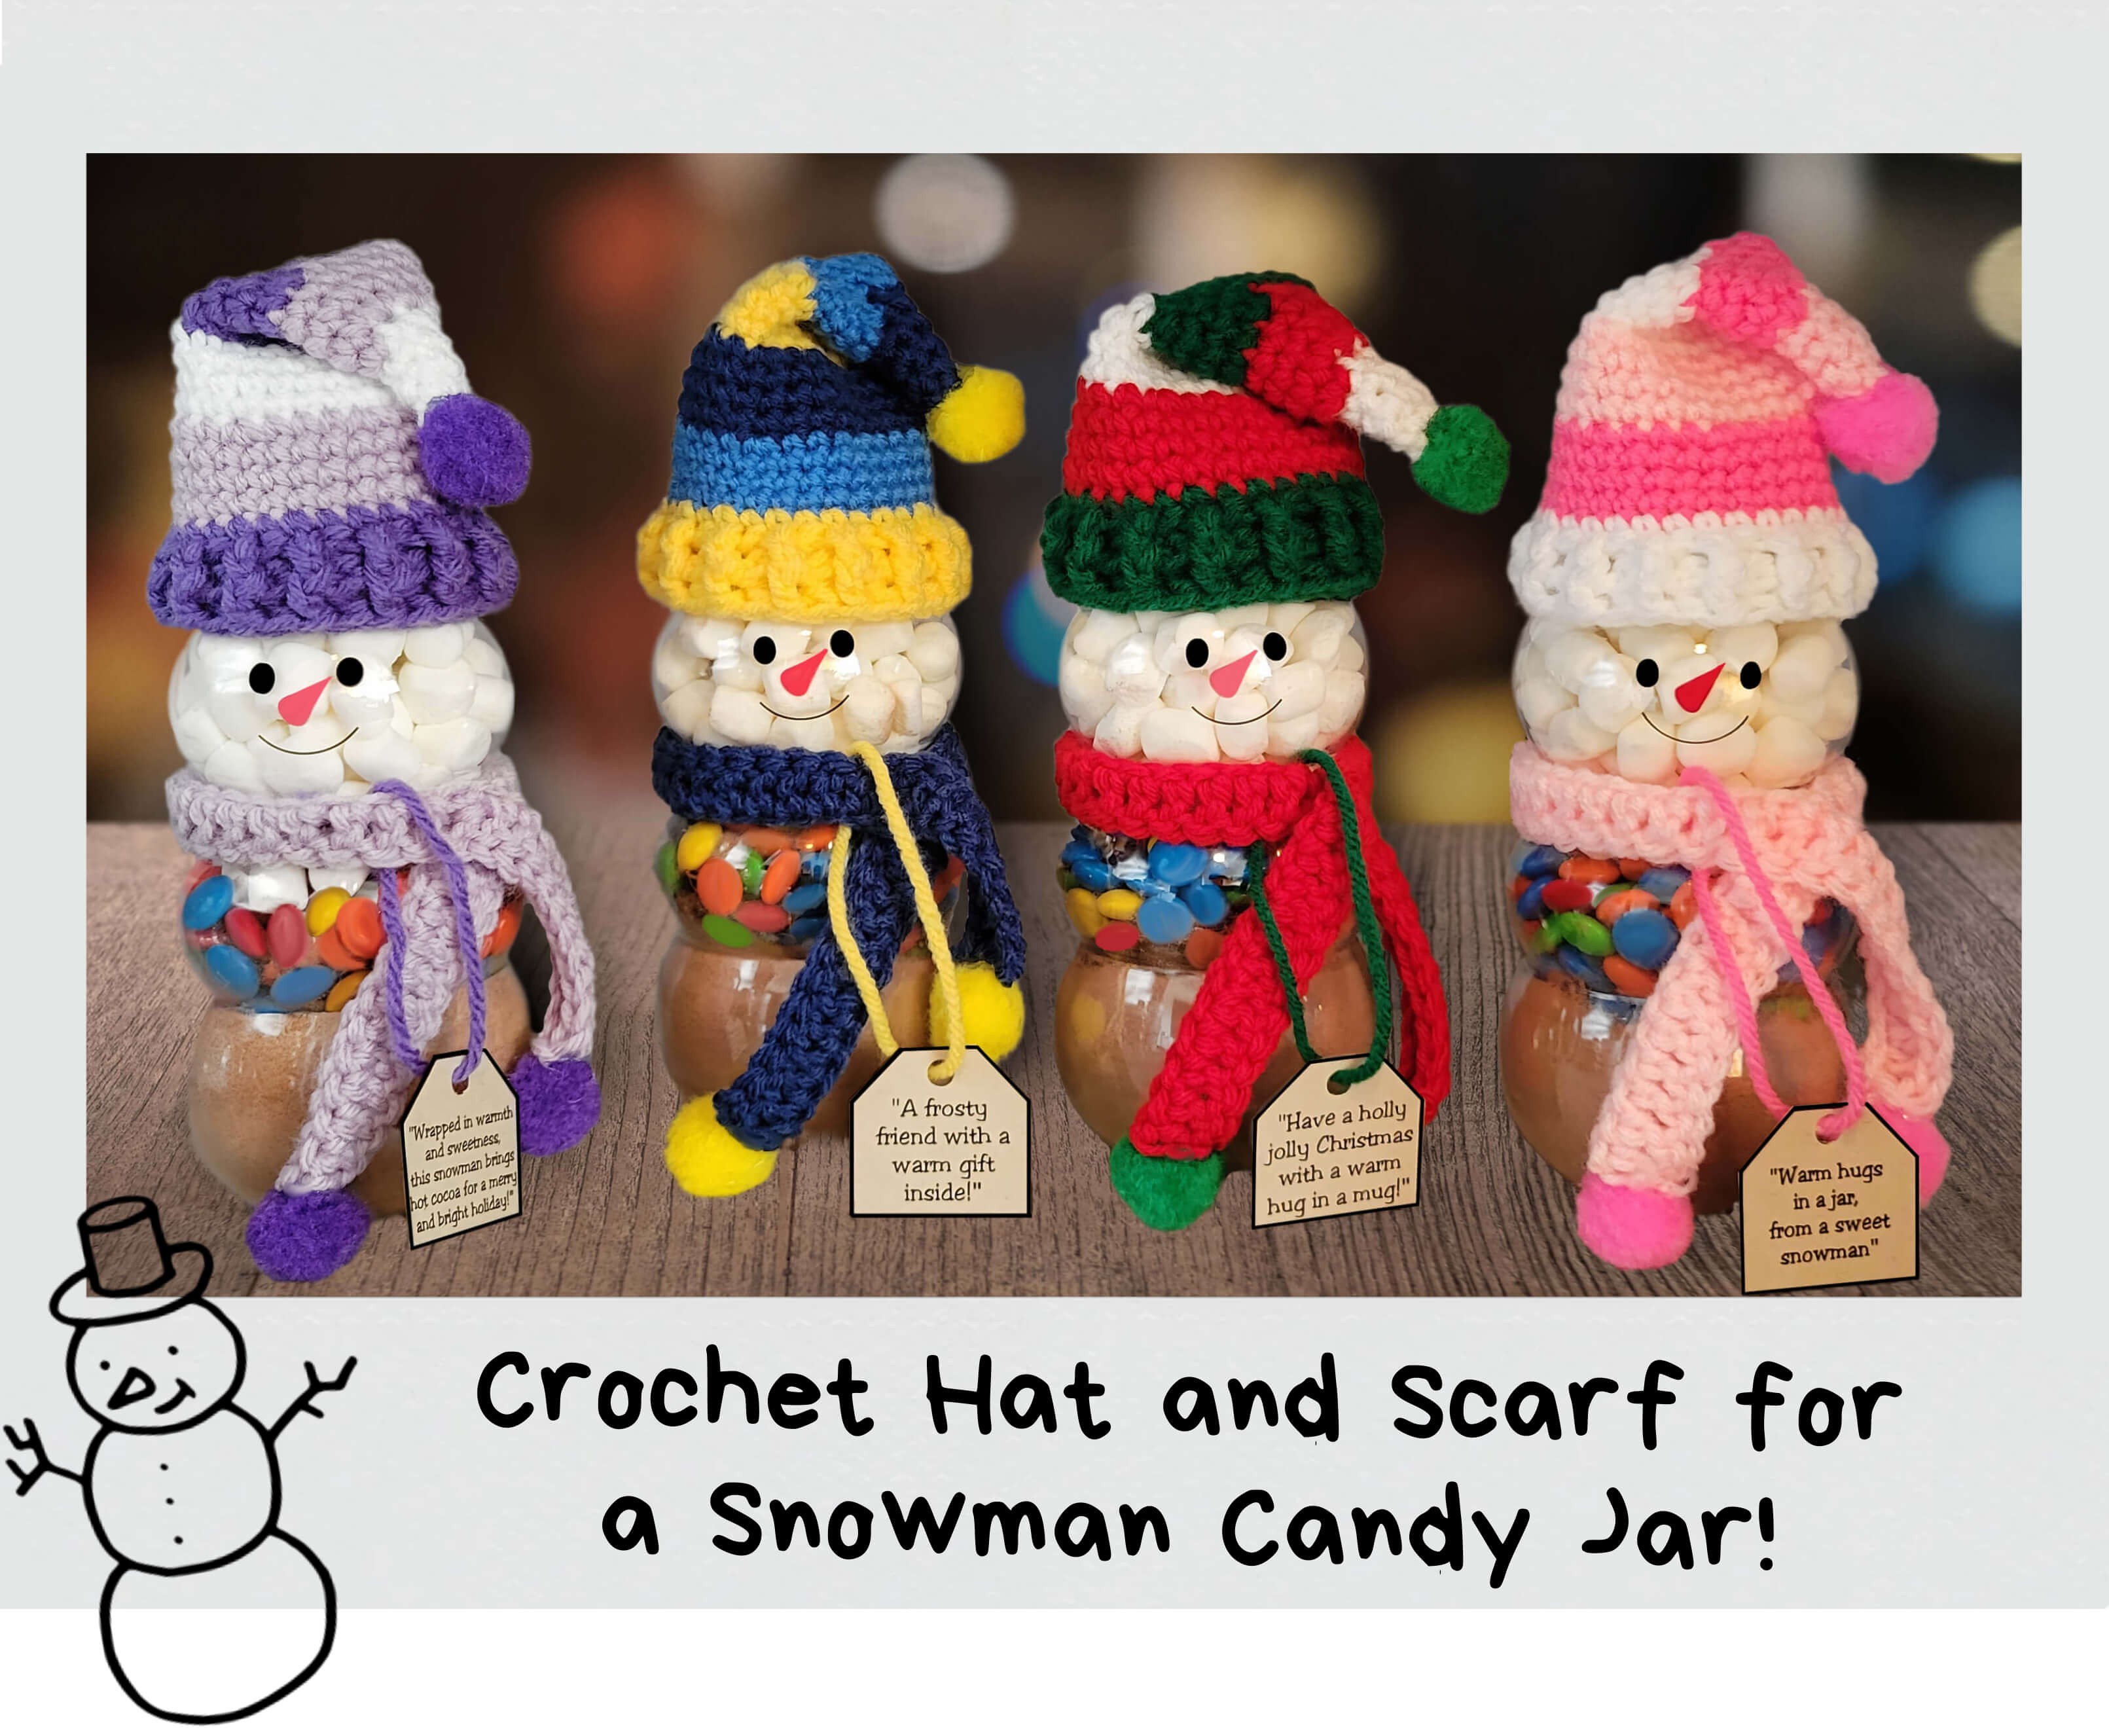
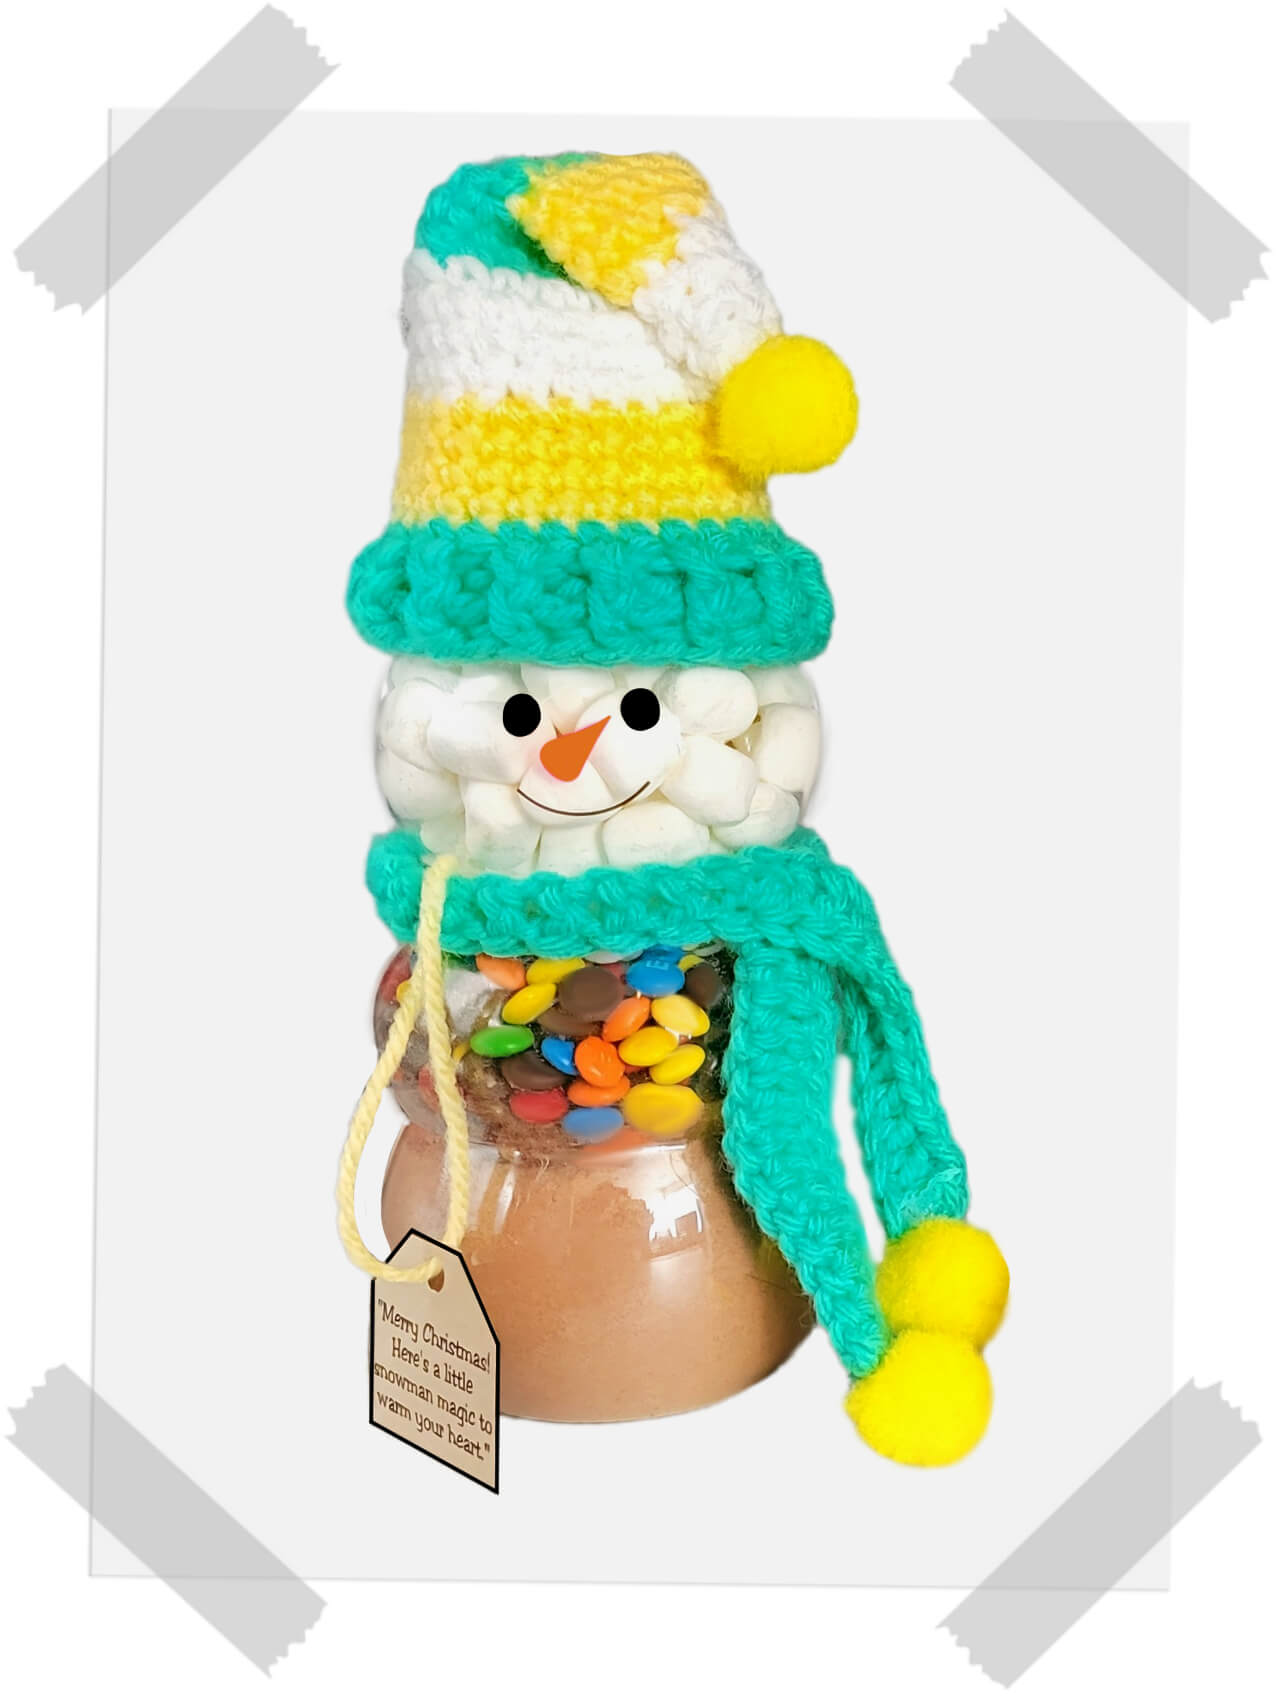
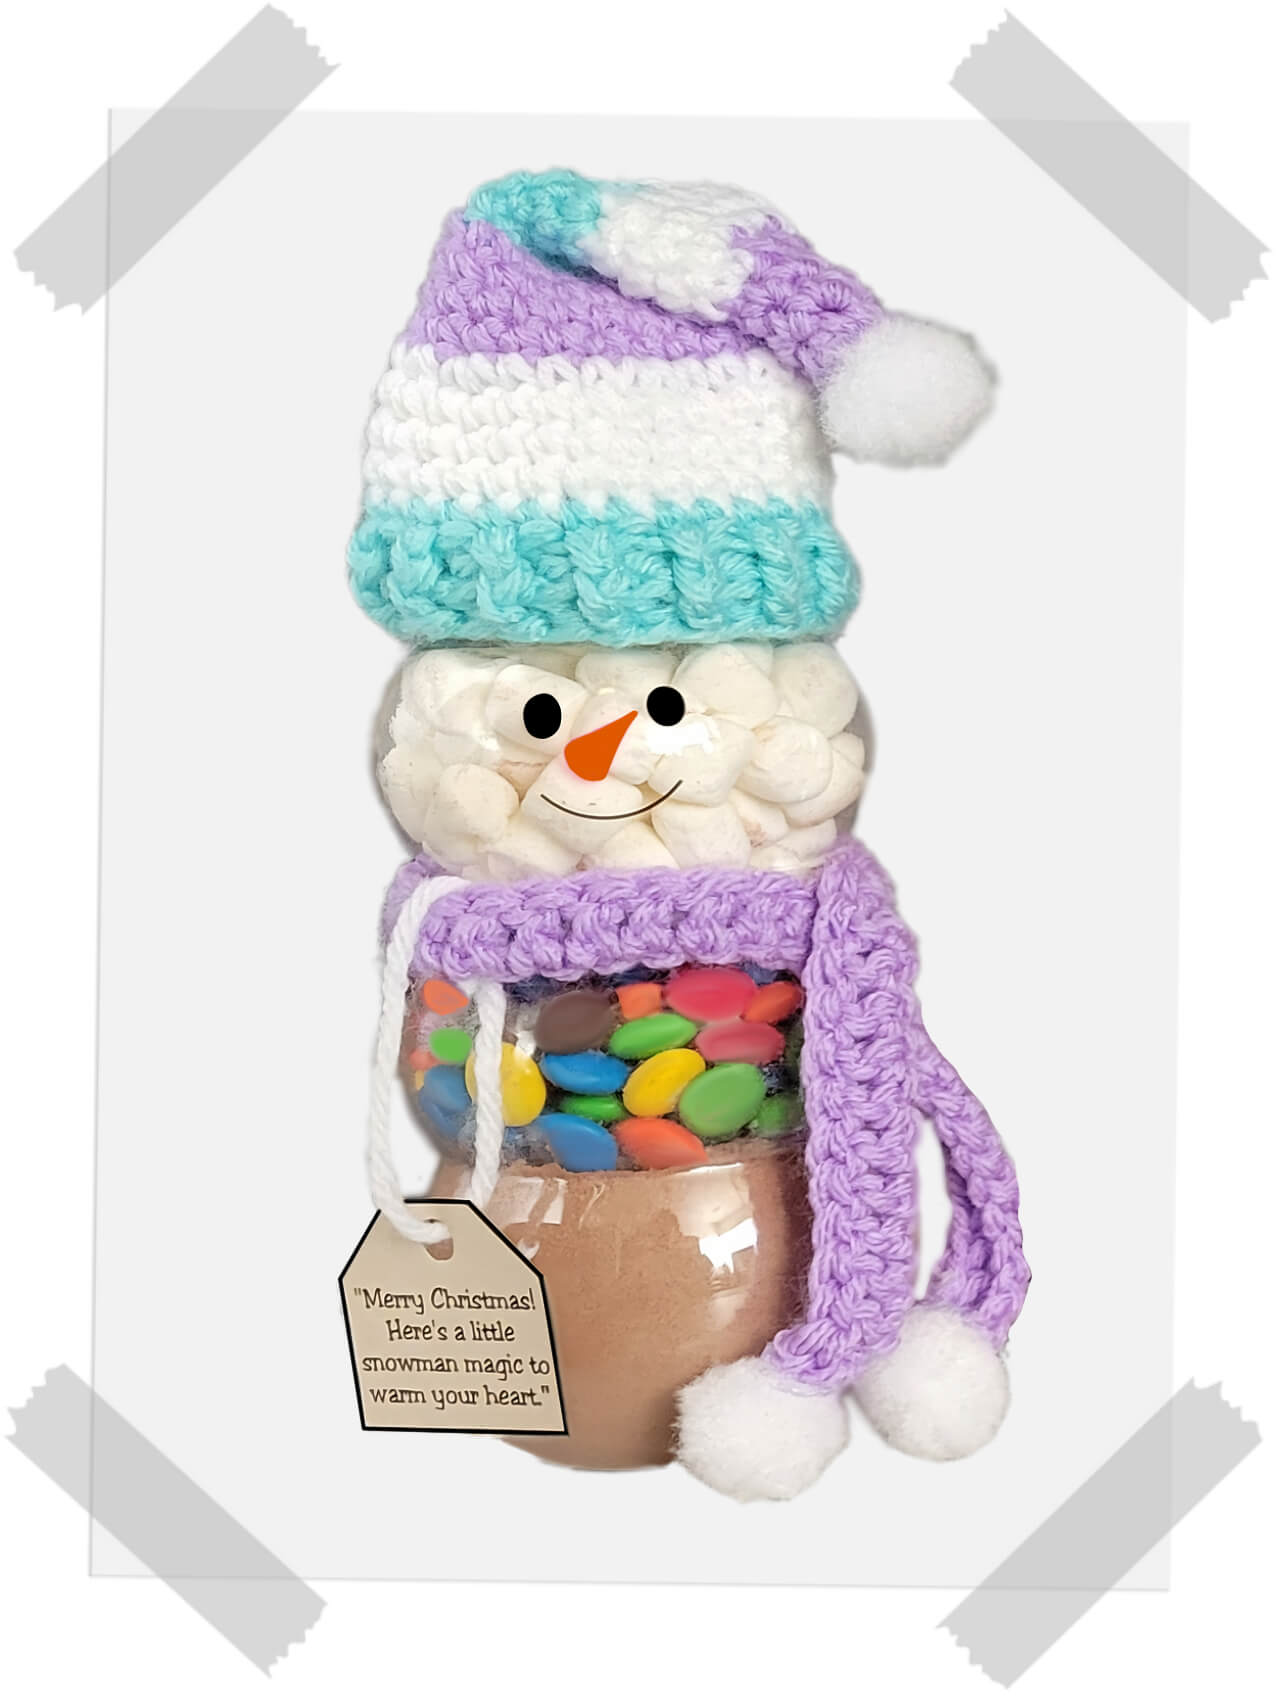
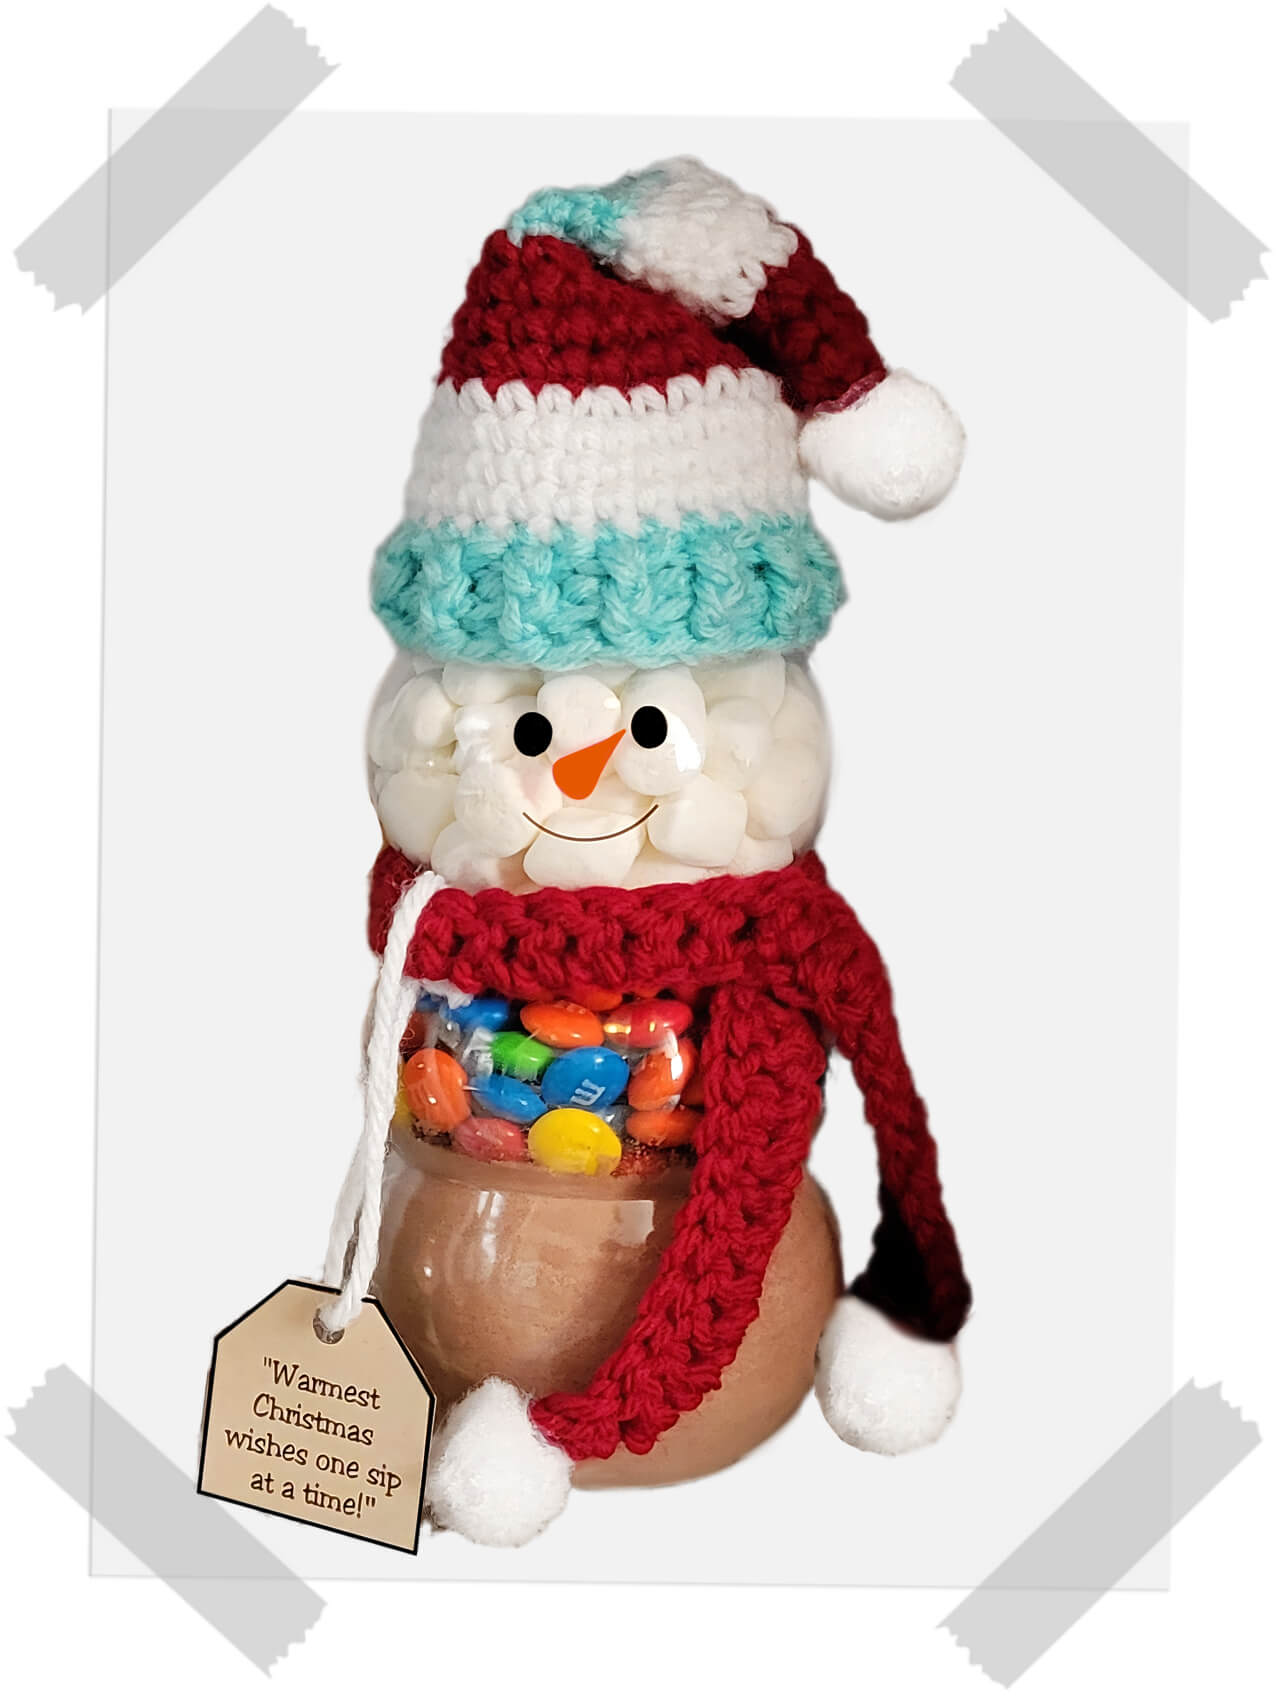
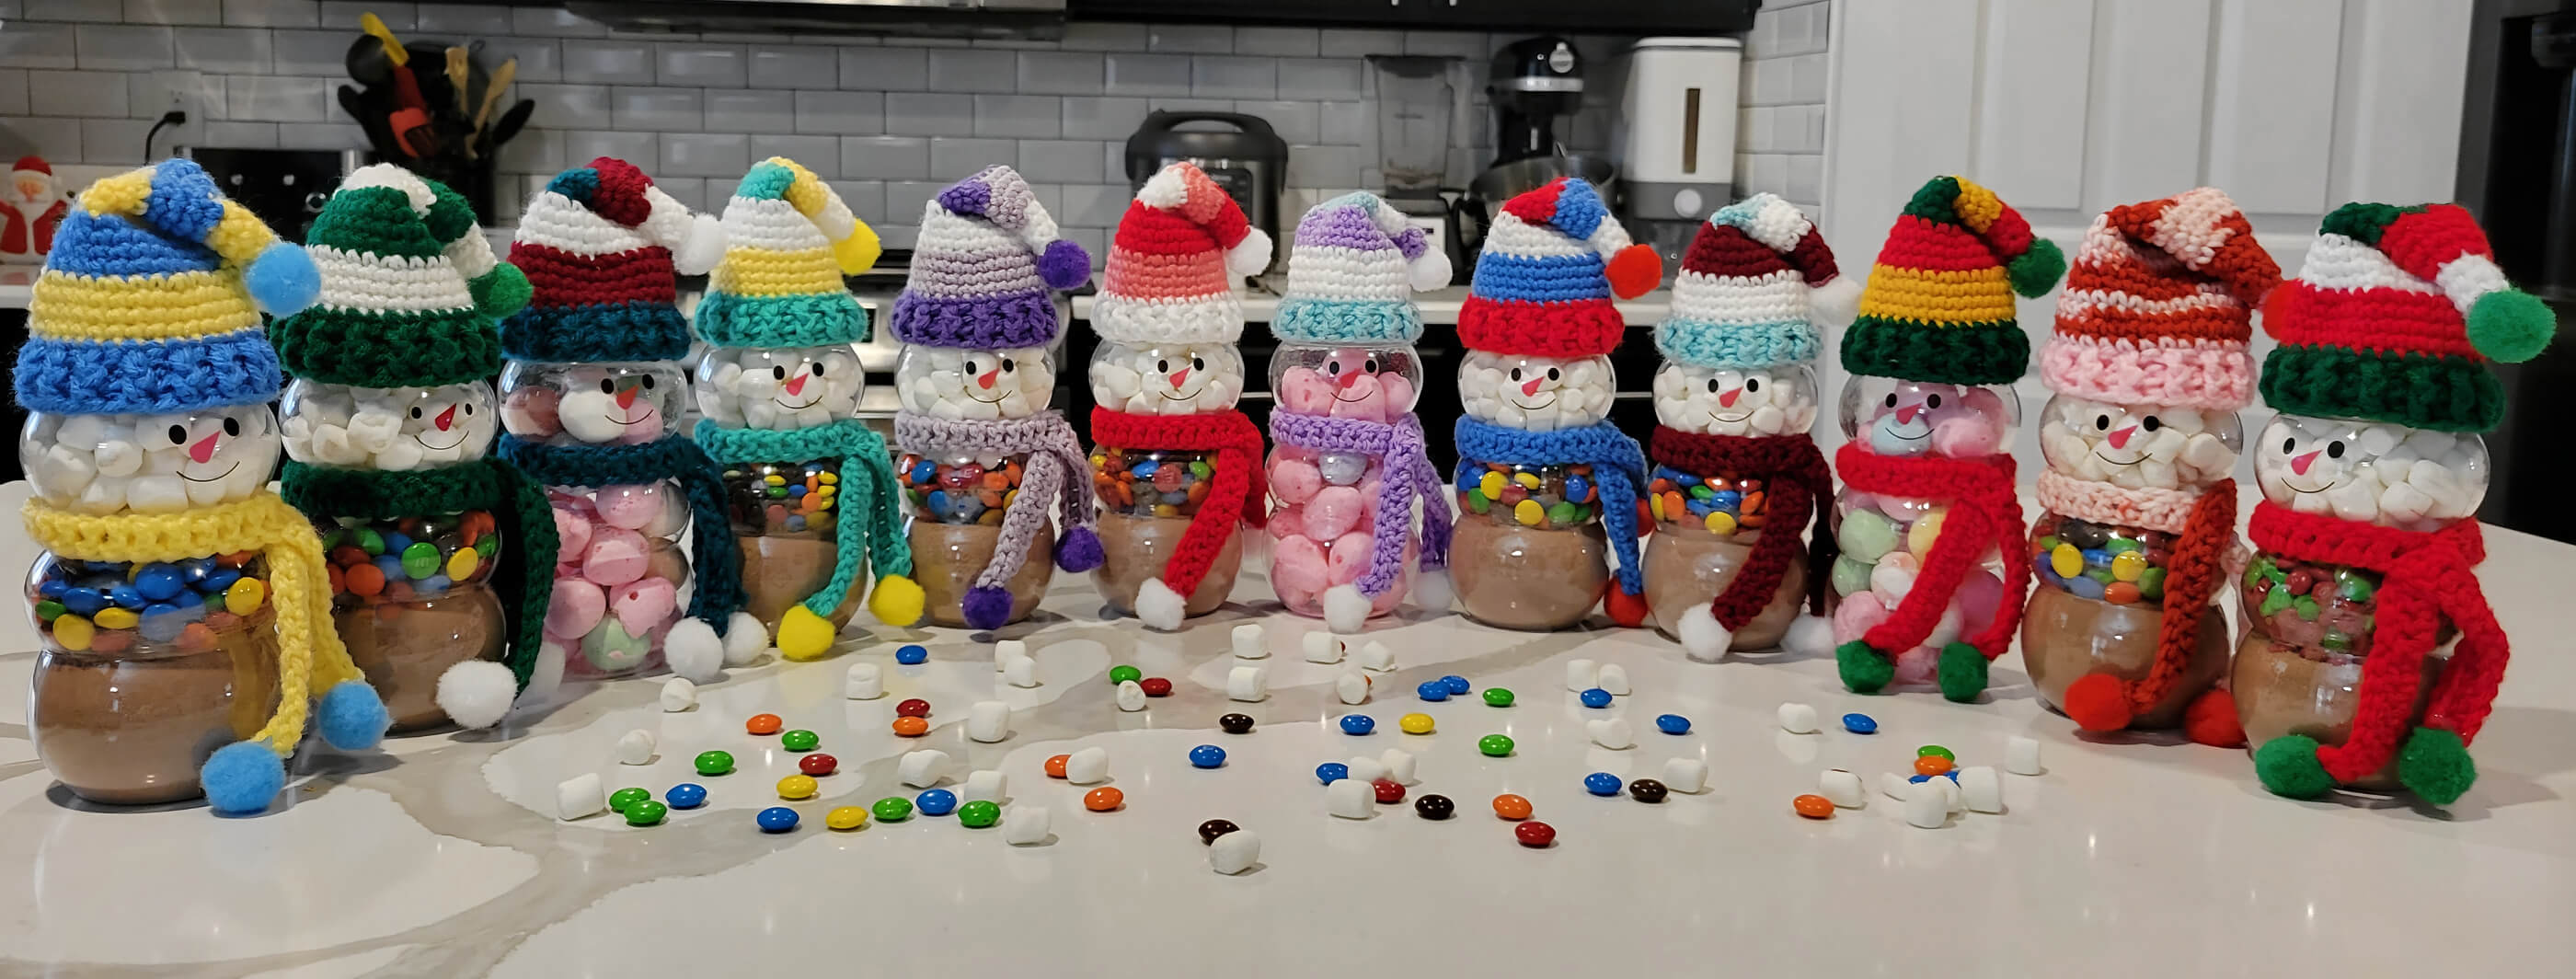
Crochet Snowman Hat Pattern for Hot Chocolate Jar

LEVEL

Easy

MATERIALS

Yarn

Any #4 yarn weight/medium can be used for this pattern

For this pattern I used Red Heart (100% acrylic; 364 yards /333m per 7oz/198g skein/ball).

A: Cherry Red

B: Soft White

C: Paddy Green

If you prefer - Lion Brand Vanna's Choice can also be used:(100% acrylic; 170 yards /155m per 3.5oz/100g skein/ball)

A: Cranberry (#860 - 180); 1 skein/ball

B: White (#860 - 100); 1 skein/ball

C: Kelly Green (#860 - 172); 1 skein/ball

Hooks

G7-4.5mm

Notions

Tapestry needle

Yarn Scissors

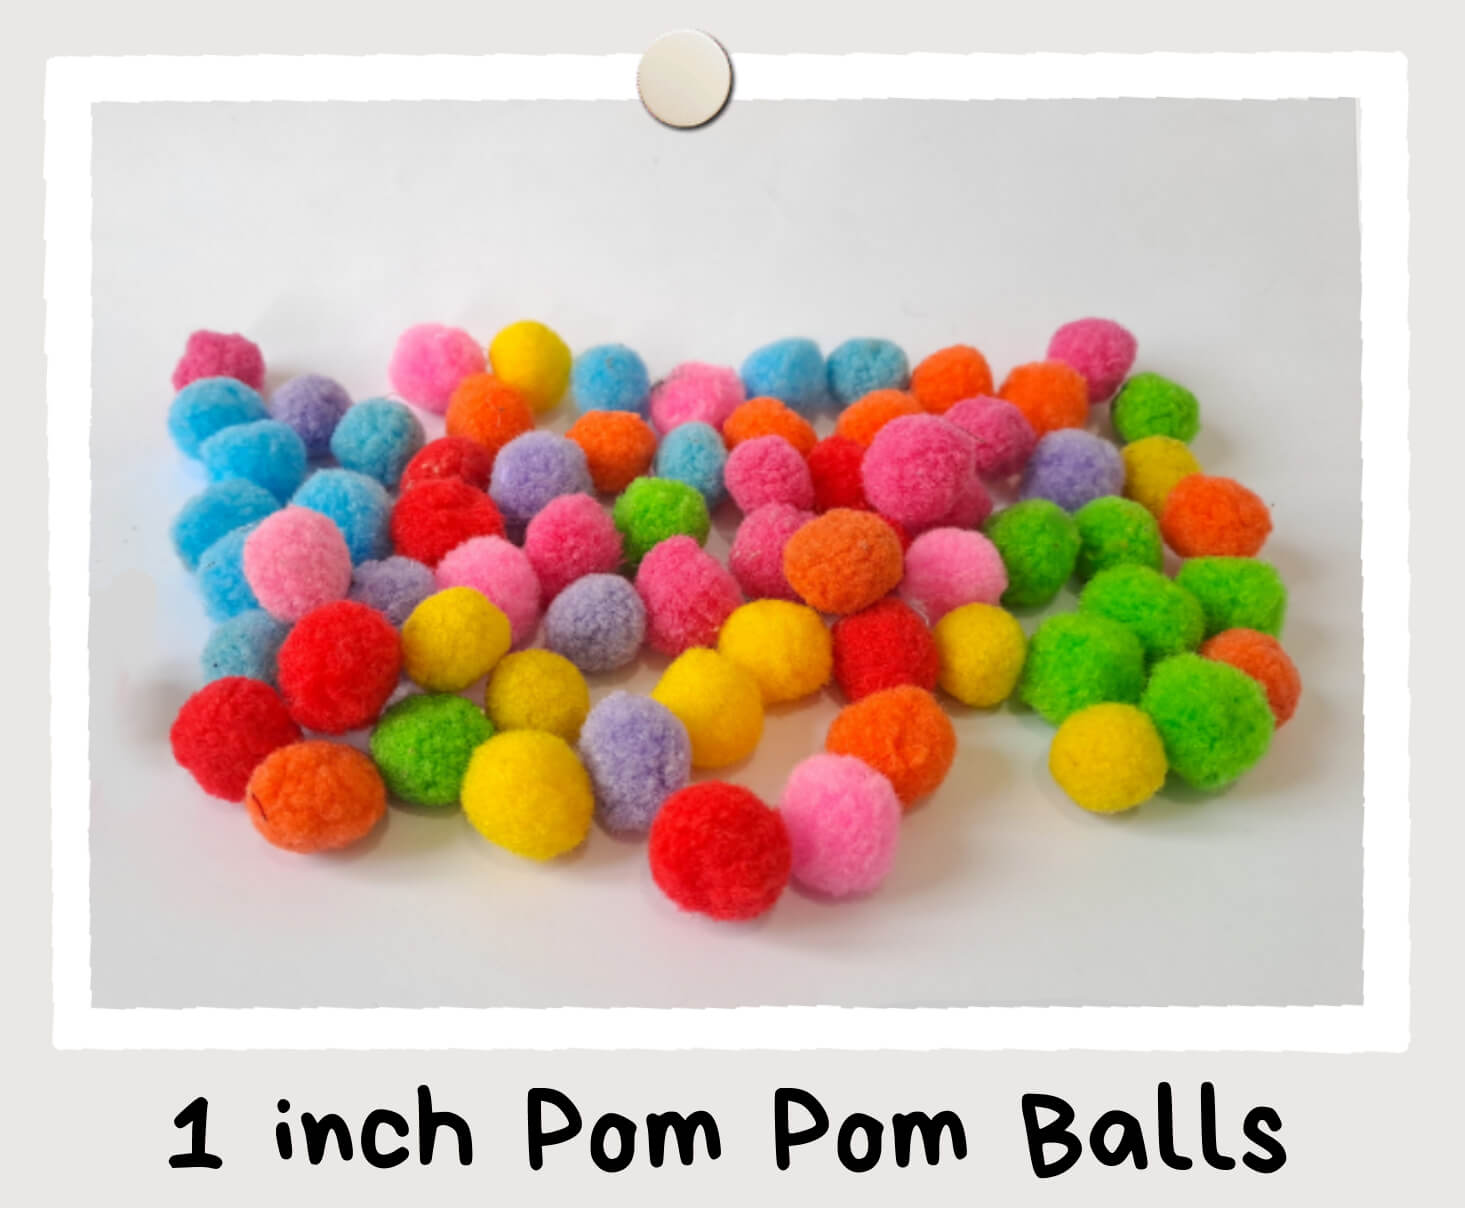
Pom Poms

Hot Glue Gun with Glue Sticks

Scissors

Notions

Tapestry needle

Yarn Scissors

Pom Poms

Hot Glue Gun with Glue Sticks

Scissors

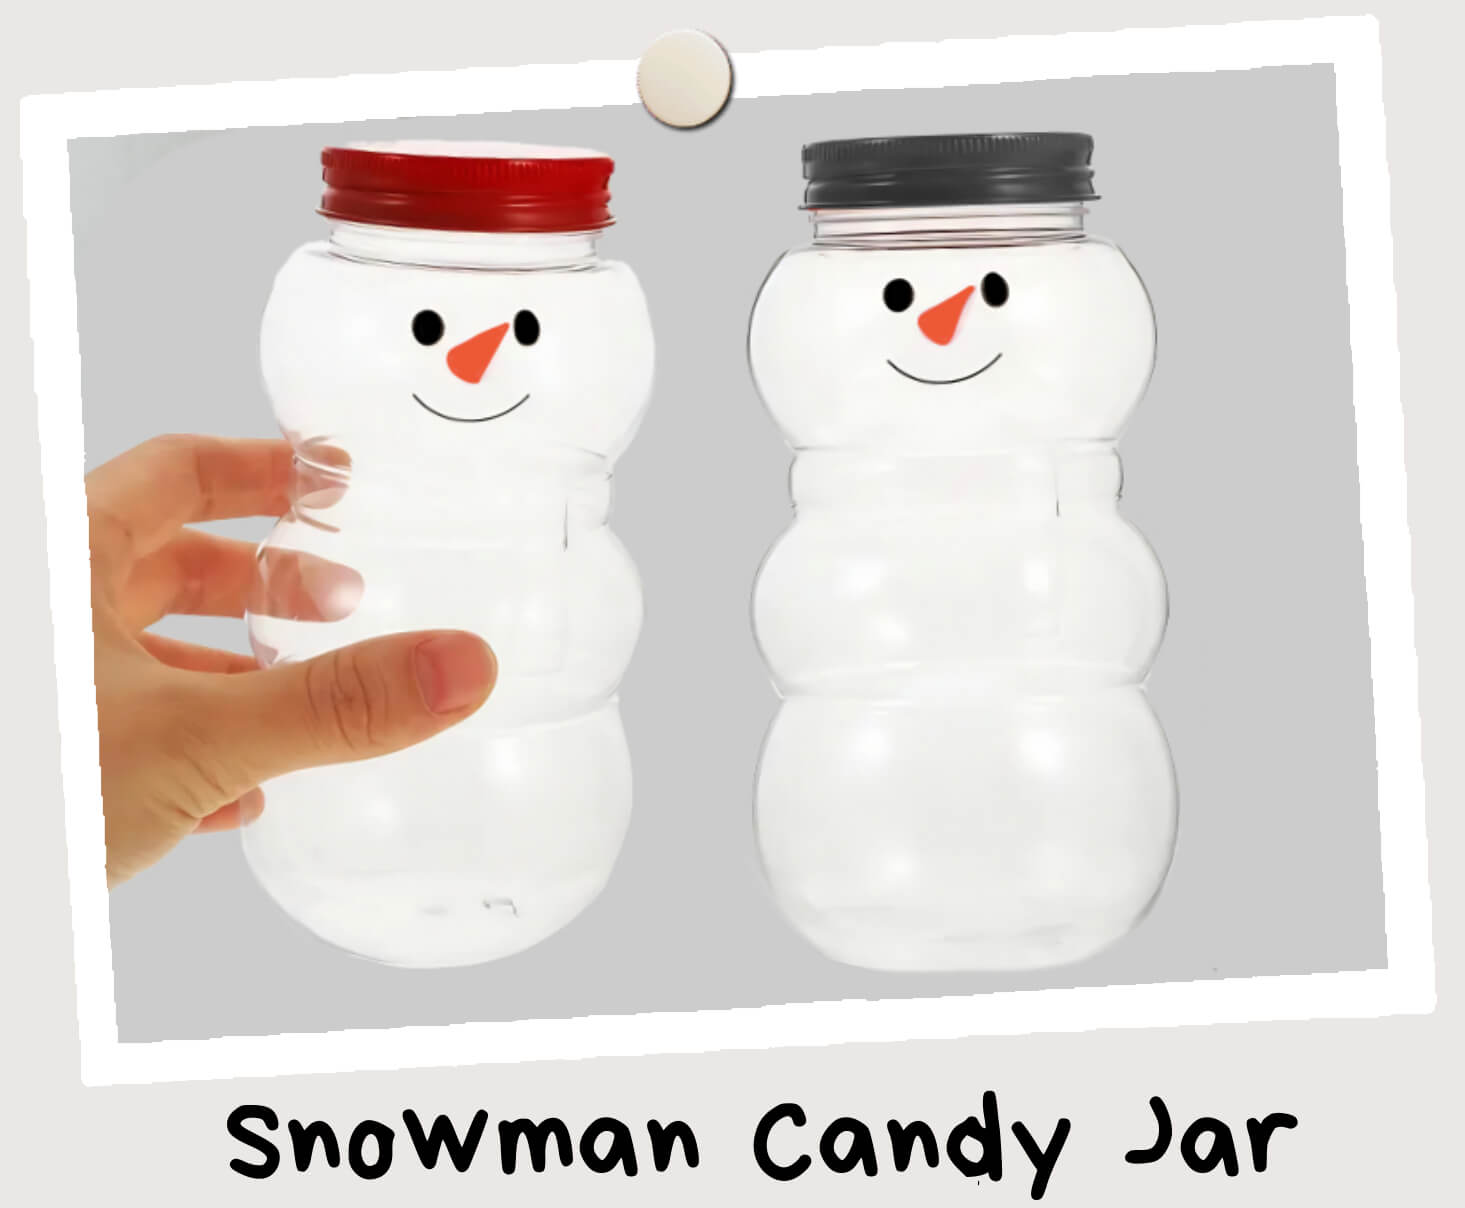
For the Snowman Jar

Snowman Jar(s)

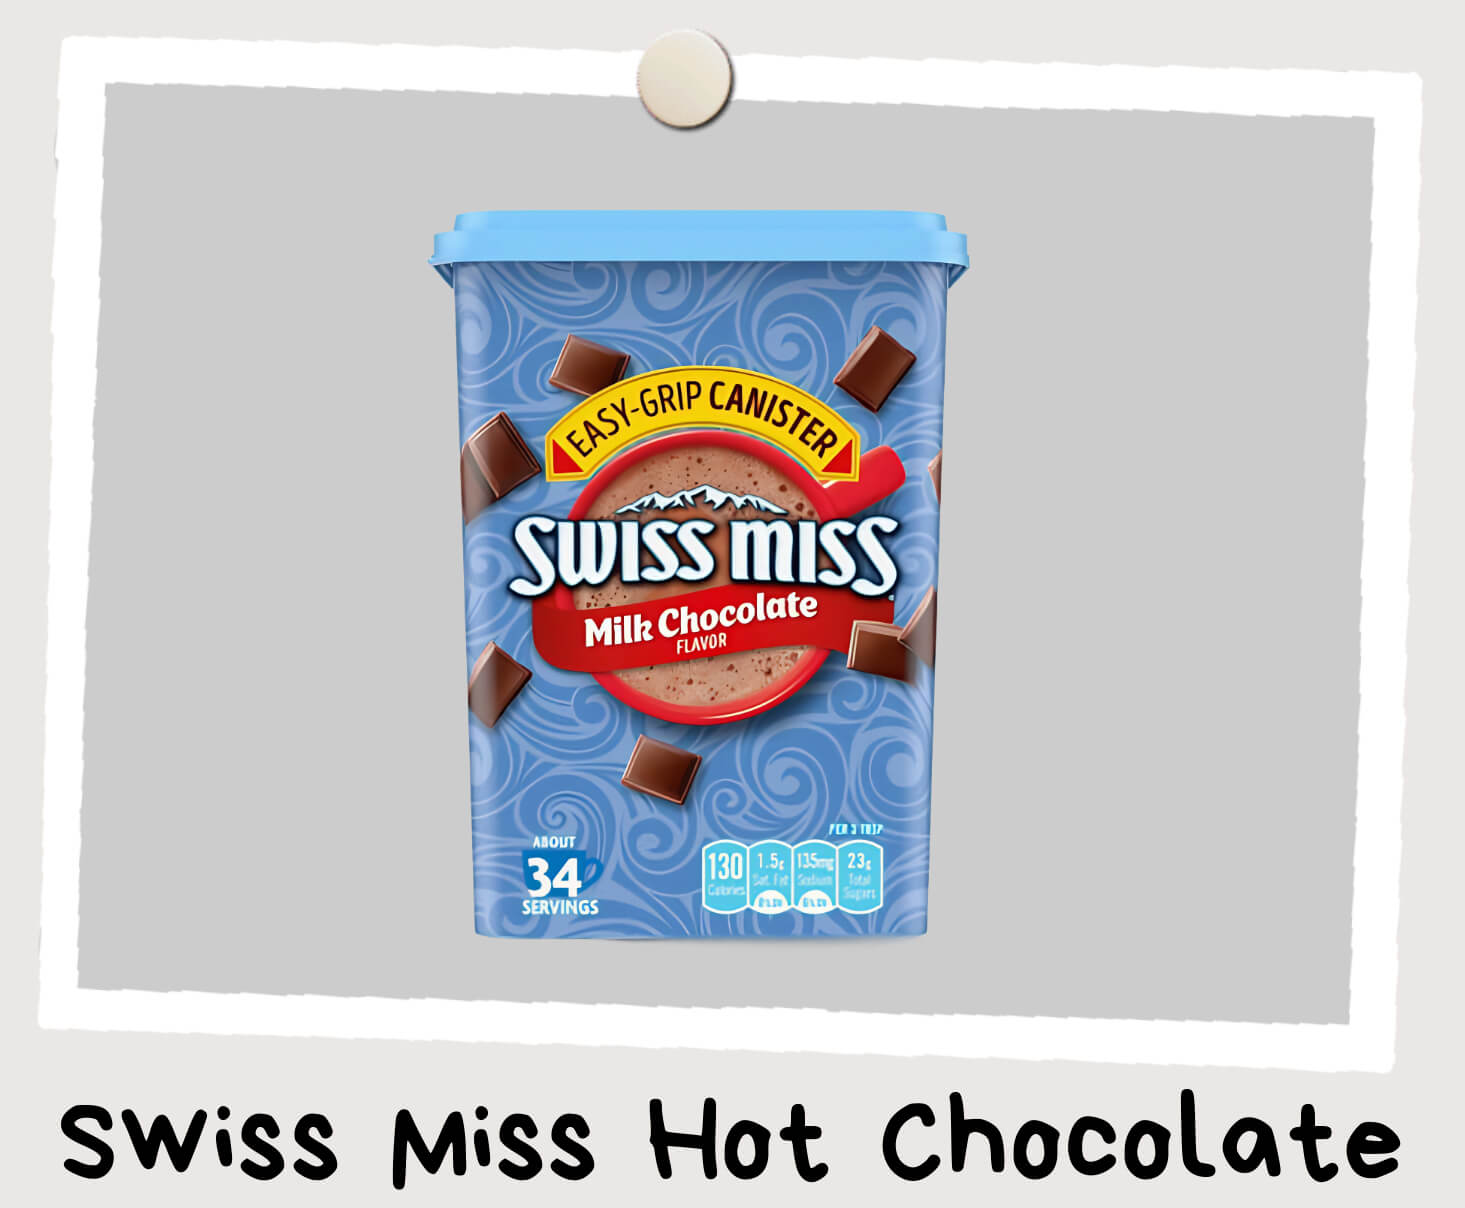
Hot Chocolate

Marshmallows

M&M Chocolate Candy Bag


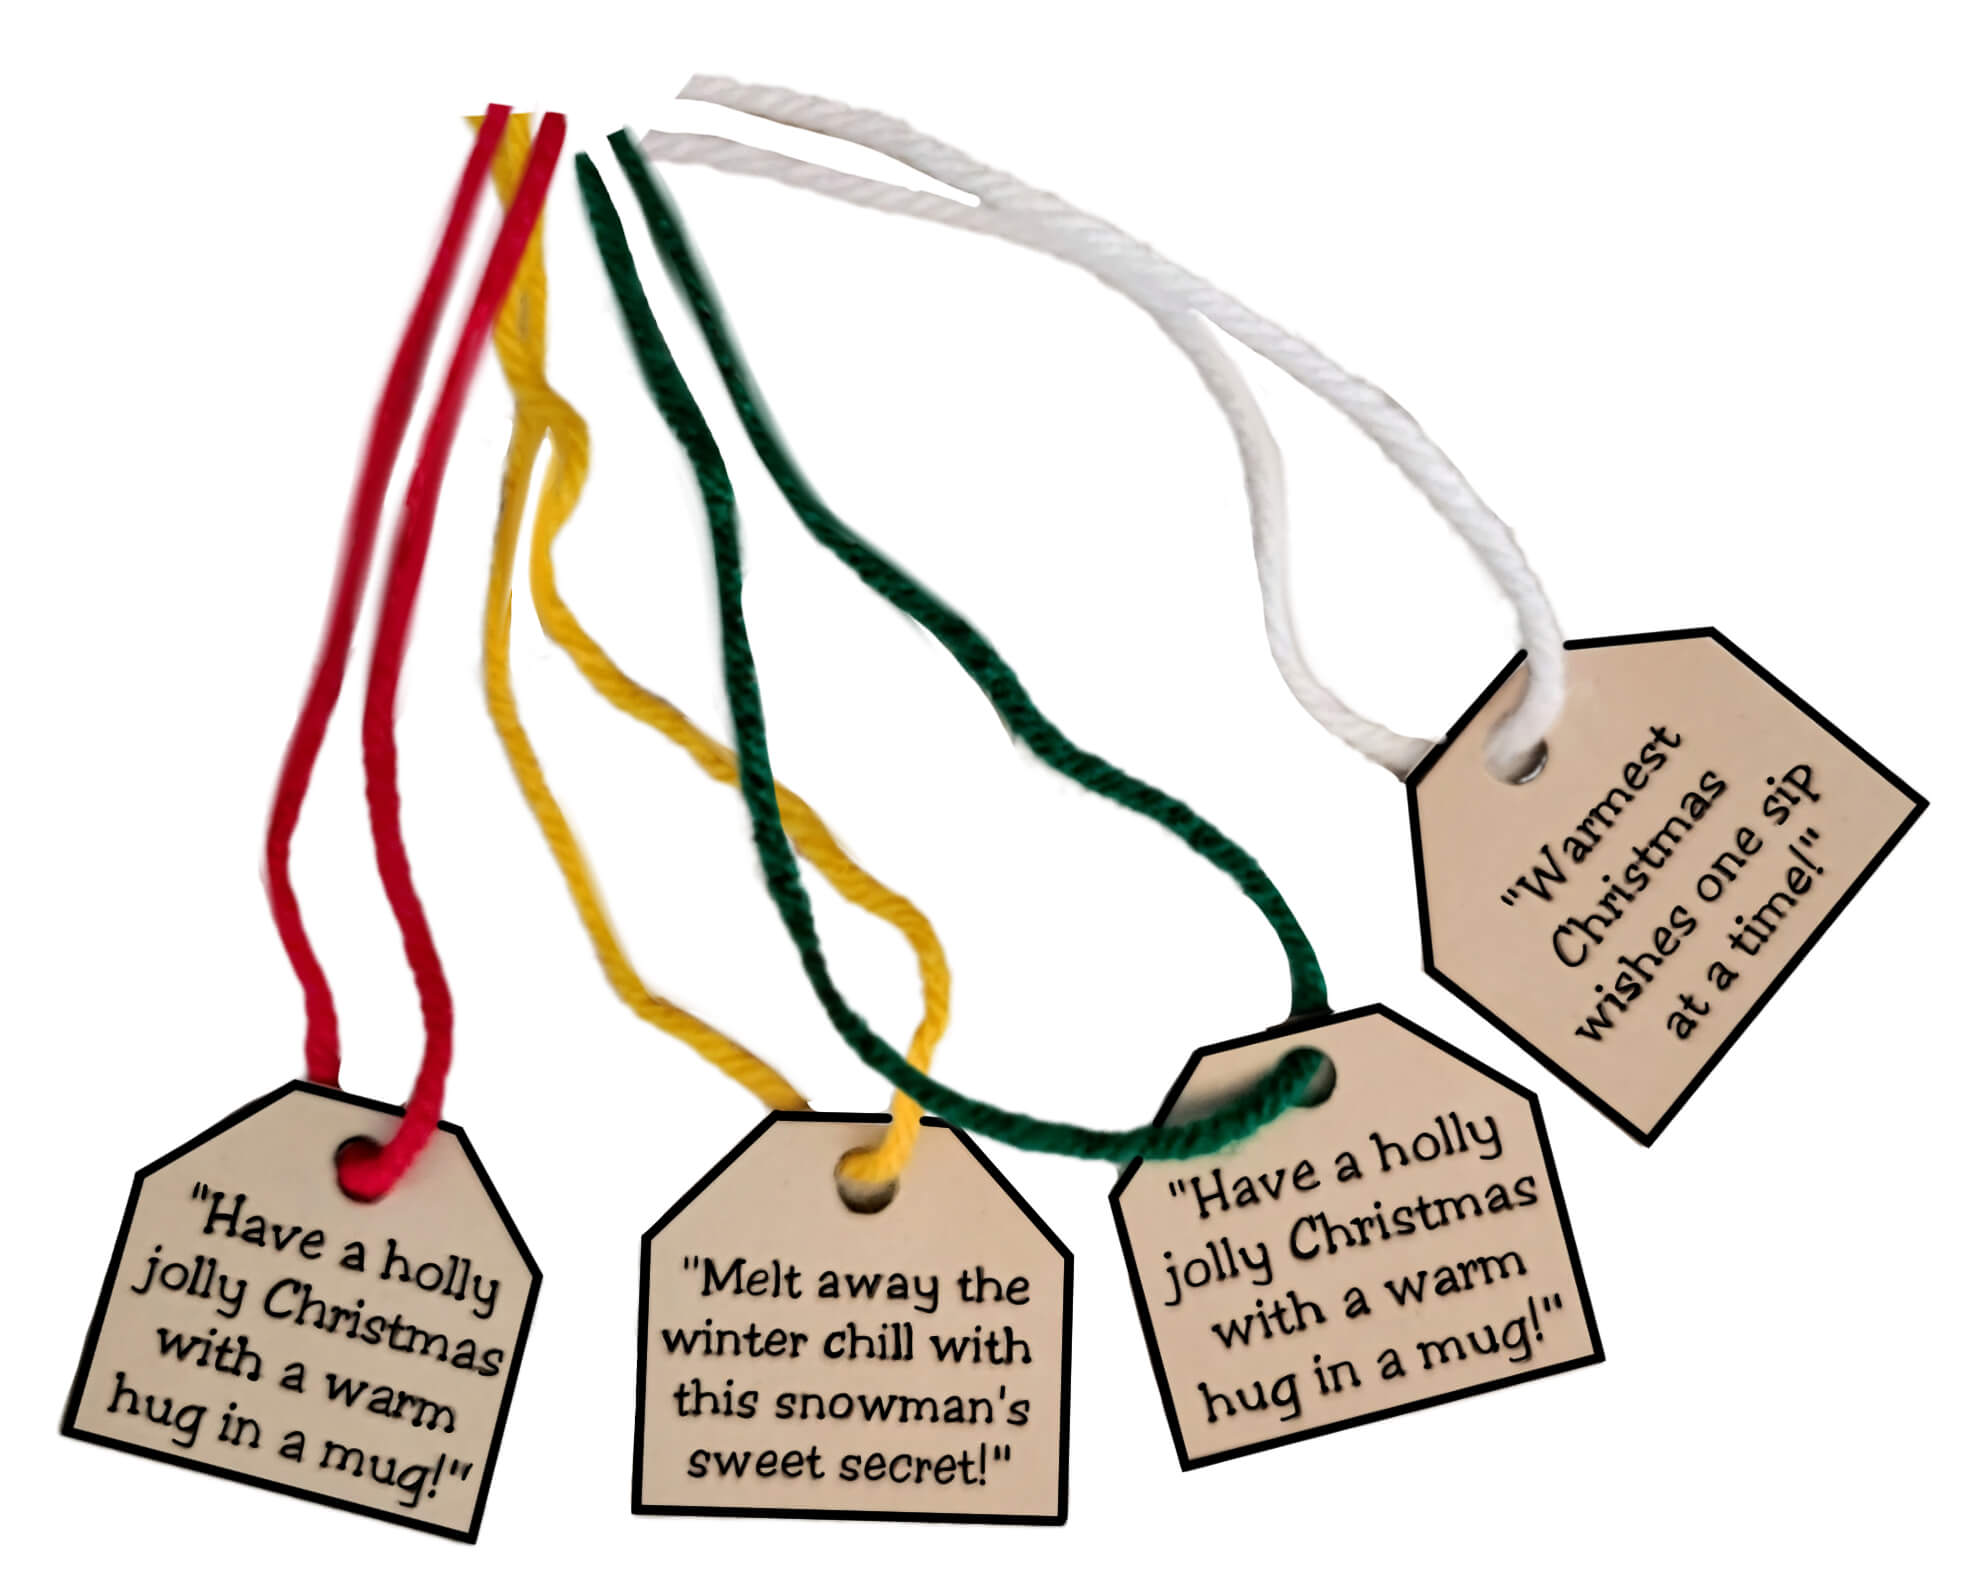
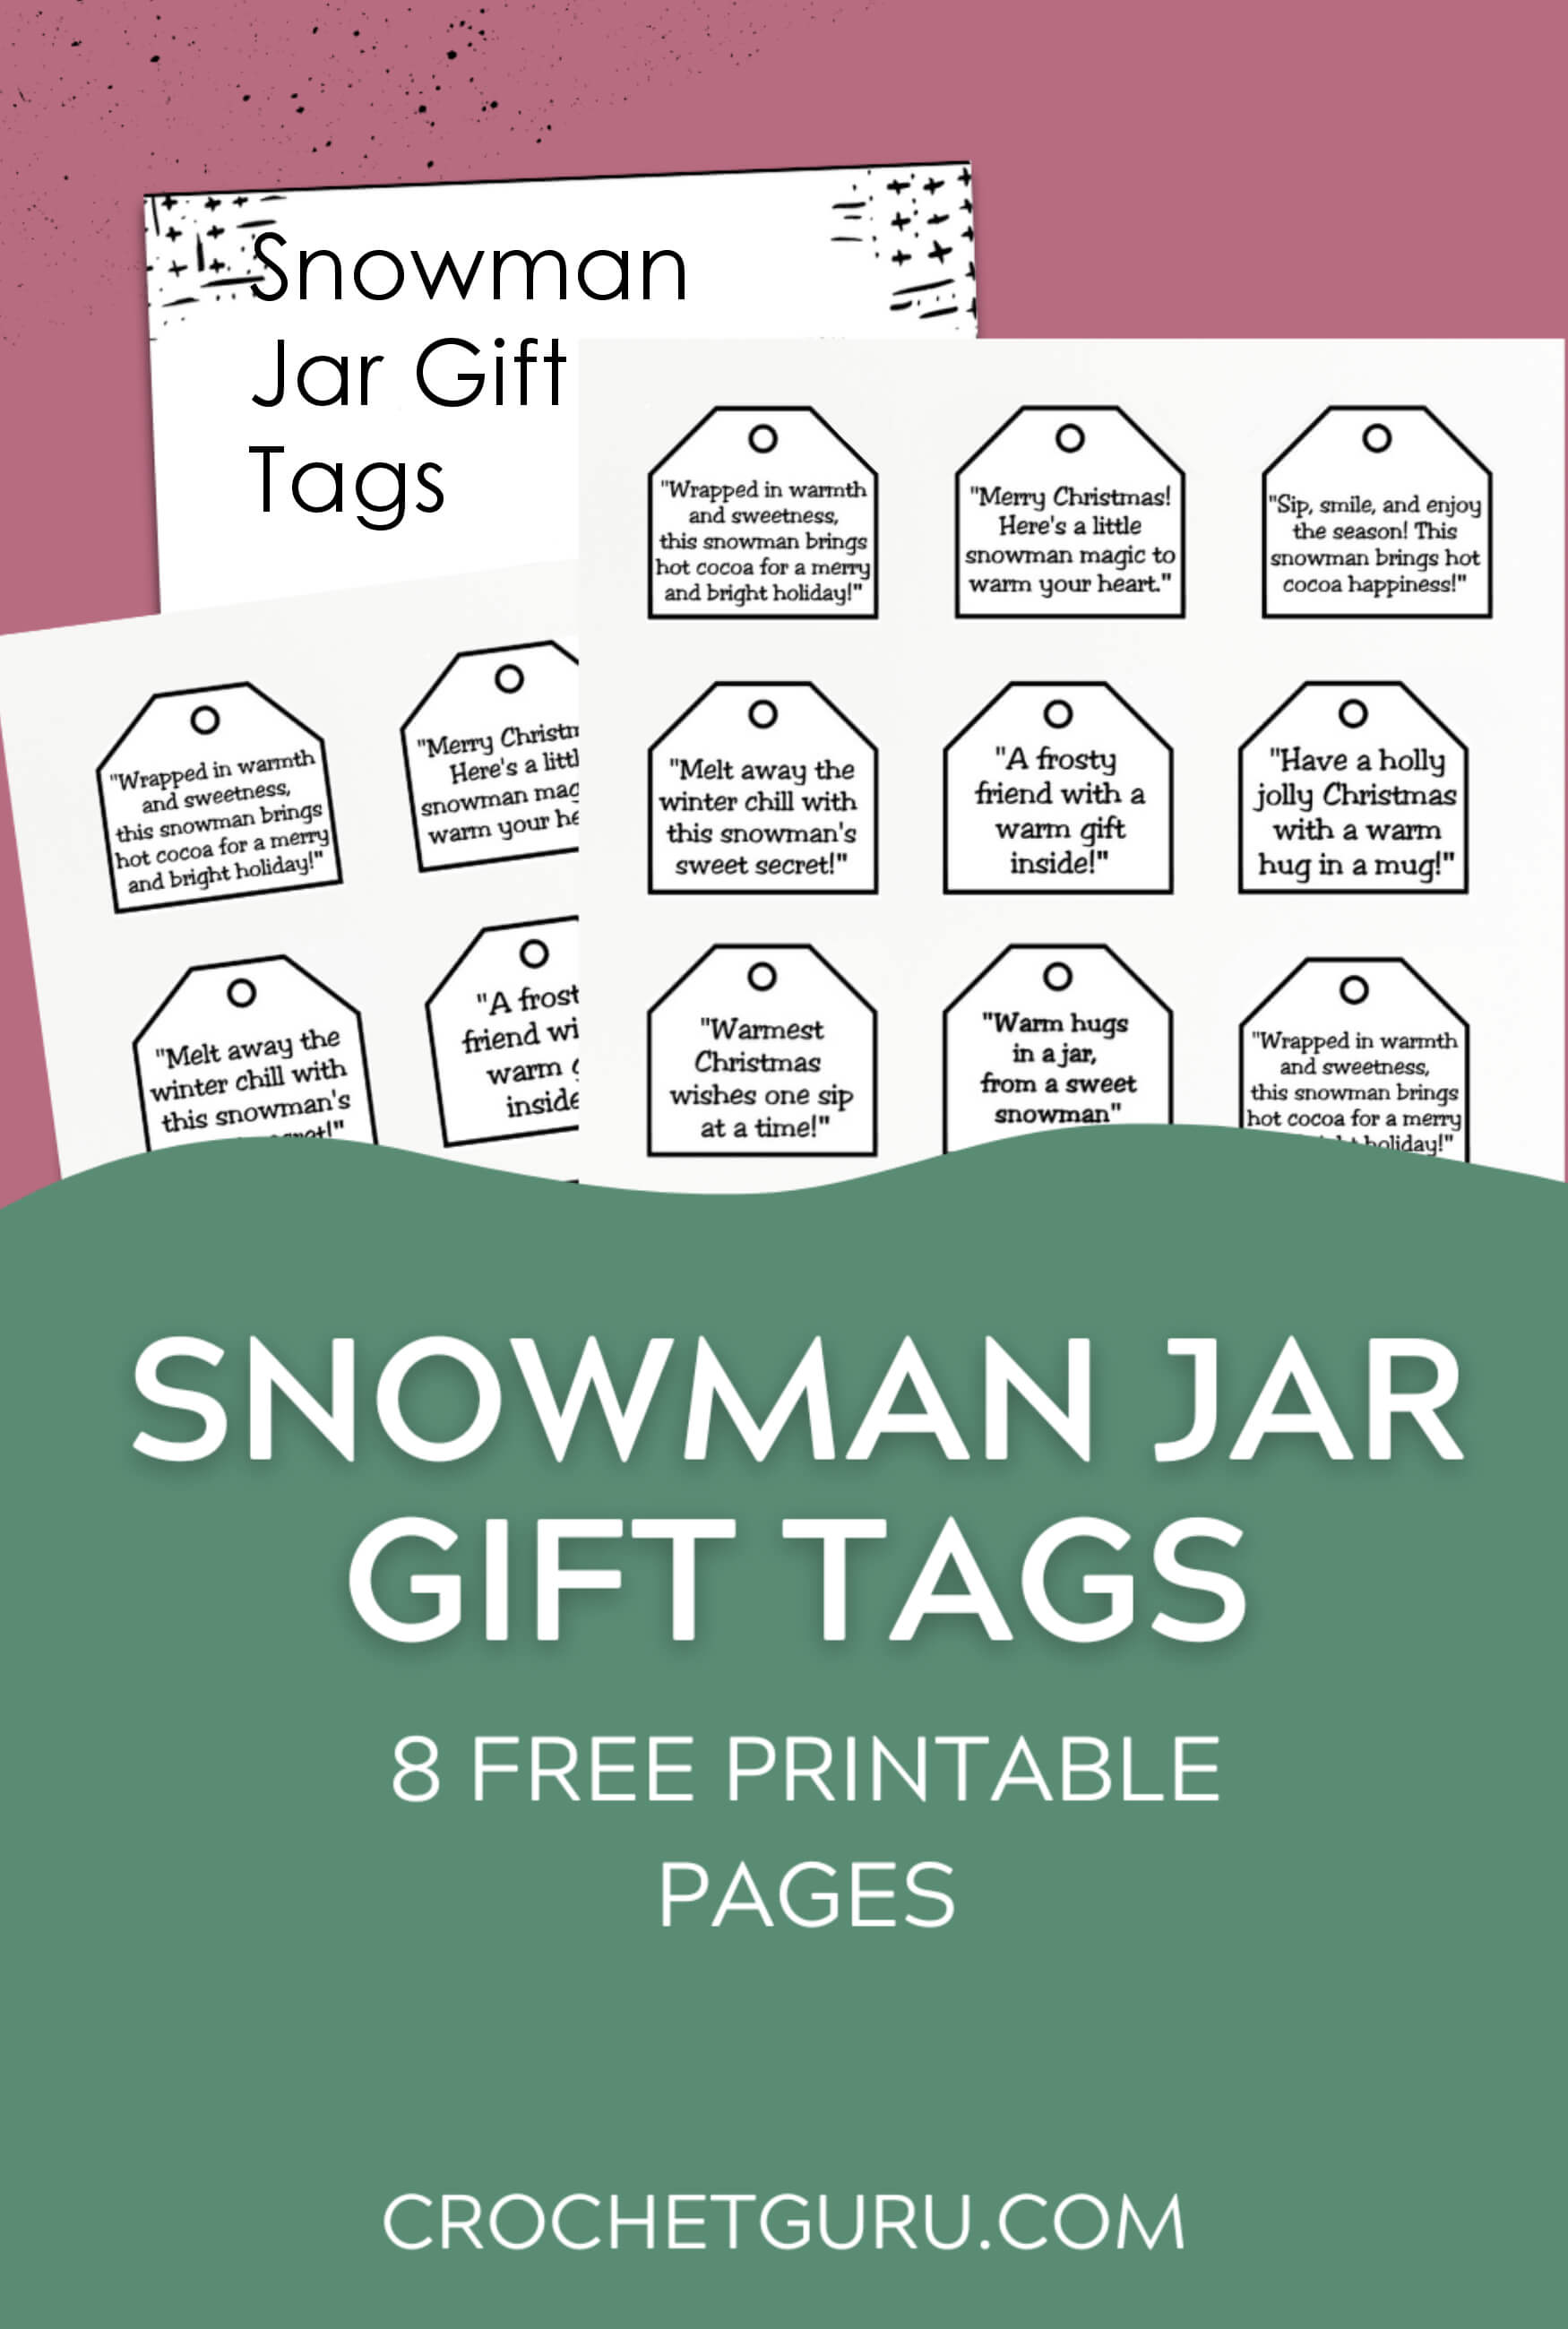
For the Gift Tag

Brown Cardstock Paper

Hole Punch


TENSION

Gauge:

In Pattern Stitch, 8 rows x 14 sts = [4"]

SIZE INFORMATION FOR CROCHET ELF HAT PATTERN

Sizes

This Pattern is made in 4 different sizes (Baby - Toddler – Child – Teenager/ Adult)

**For sizes

Baby (0-3) 14"-17"

Toddler (1-3) 16"-18"

Child (3-10) 18"-20"

Teenager/Adult 22"-24"

** For more accurate sizing, measure the persons head circumference and choose size accordingly. 

elf-hat-crochet-pattern

PATTERN NOTES

  • Ch 3 at beginning of each round counts as first dc.
  • This pattern is worked from the top down in one piece.
  • I like to join my rounds by placing a slip stitch into the beginning of the first double crochet, but you can choose to join your rounds by slip stitching into the top of the chain 3 instead.

ABBREVIATIONS

This pattern is written using standard US crochet terminology.

  • Ch = Chain(s)
  • Sl st = Slip stitch
  • St(s) = Stitch(es)
  • Dc = Double crochet
  • Sc = Single crochet
  • Fpdc = Front post double crochet
  • Bpdc = Back post double crochet

DEFINITIONS

Front Post Double Crochet (fpdc): Yarn over, insert your hook from front to back around the post of the next stitch, yarn over, pull up a loop, yarn over, pull through 2 loops on your hook, yarn over, pull through the remaining two loops on your hook.
Back Post Double Crochet (bpdc): Yarn over, insert your hook from back to front around the post of the next stitch, yarn over, pull up a loop, yarn over, pull through 2 loops on your hook, yarn over, pull through the remaining two loops on your hook.

CROCHET ELF HAT PATTERN

With the color red make a magic ring.

Round 1: Ch 3, 5 dc in magic ring, sl st in first dc at beginning of round to join. (6 dc)

Round 2: Ch 3, dc in each st around, sl st in first dc at beginning of round to join. (6 dc)

Round 3: Ch 3, 2 dc in next st, *dc in next st, 2 dc in next st, repeat from* twice, sl st to in first dc at beginning of round to join. (9 dc)

Round 4: Change to the color white, dc in each st around, sl st in first dc at beginning of round to join. (9 dc)

Round 5:  Ch 3, dc in each st around, sl st in first dc at beginning of round to join. (9 dc)

Round 6: Change to the color redch 3, dc in next st, 2 dc in next st, *dc in next 2 sts, 2 dc in the next st, repeat from* twice, sl st in first dc at beginning of round to join. (12 dc)

Round 7: Ch 3, dc in each st around, sl st in first dc at beginning of round to join. (12 dc)

Round 8: Change to the color white, ch 3, dc in next 2 sts, 2 dc in next st, *dc in next 3 sts, 2 dc in next st, repeat from* twice, sl st in first dc at beginning of round to join. (15 dc)

I made this crochet elf hat pattern for my seven year old daughter!

elf-pattern-crochet-hat

Round 9: Ch 3, dc in each st around, sl st in first dc at beginning of round to join. (15 dc)

Round 10: Change to the color red, ch 3, dc in next 3 sts, 2 dc in next st, *dc in next 4 sts, 2 dc in next st, repeat from* twice, sl st in first dc at beginning of round to join. (18 dc)

Round 11: Ch 3, dc in each st around, sl st in first dc at beginning of round to join. (18 dc)

Round 12: Change to the color white, ch 3, dc in next 4 sts, 2 dc in next st, *dc in next 5 sts, 2 dc in next st, repeat from* twice, sl st in first dc at beginning of round to join. (21 dc)

Round 13: Ch 3, dc in each st around, sl st in first dc at beginning of round to join. (21 dc)

Round 14: Change to the color red, ch 3, dc in next 5 sts, 2 dc in next st, *dc in next 6 sts, 2 dc in next st, repeat from* twice, sl st in first dc at beginning of round to join. (24 dc)

Round 15: Ch 3, dc in each st around, sl st in first dc at beginning of round to join. (24 dc)

Round 16: Change to the color white, ch 3, dc in next 6 sts, 2 dc in next st, *dc in next 7 sts, 2 dc in next st, repeat from* twice, sl st in first dc at beginning of round to join. (27 dc)

Round 17: Ch 3, dc in each st around, sl st in first dc at beginning of round to join. (27 dc)

Round 18: Change to the color red, ch 3, dc in next 7 sts, 2 dc in next st, *dc in next 8 sts, 2 dc in next st, repeat from* twice, sl st in first dc at beginning of round to join. (30 dc)

Round 19: Ch 3, dc in each st around, sl st in first dc at beginning of round to join. (30 dc)

Round 20: Change to the color white, ch 3, dc in next 8 sts, 2 dc in next st, *dc in next 9 sts, 2 dc in next st, repeat from* twice, sl st in first dc at beginning of round to join. (33 dc)

Round 21: Ch 3, dc in each st around, sl st in first dc at beginning of round to join. (33 dc)

Round 22: Change to the color red, ch 3, dc in next 9 sts, 2 dc in next st, *dc in next 10 sts, 2 dc in next st, repeat from* twice, sl st in first dc at beginning of round to join. (36 dc)

Round 23: Ch 3, dc in each st around, sl st in first dc at beginning of round to join. (36 dc)

Round 24: Change to the color white, ch 3, dc in next 10 sts, 2 dc in next st, *dc in next 11 sts, 2 dc in next st, repeat from* twice, sl st in first dc at beginning of round to join. (39 dc)

Round 25: Ch 3, dc in each st around, sl st in first dc at beginning of round to join. (39 dc)

Round 26: Change to the color red, ch 3, dc in next 11 sts, 2 dc in next st, *dc in next 12 sts, 2 dc in next st, repeat from* twice, sl st in first dc at beginning of round to join. (42 dc)

Round 27: Ch 3, dc in each st around, sl st in first dc at beginning of round to join. (42 dc)

Round 28: Change to the color white, ch 3, dc in next 12 sts, 2 dc in next st, *dc in next 13 sts, 2 dc in next st, repeat from* twice, sl st in first dc at beginning of round to join. (45 dc)

Round 29: Ch 3, dc in each st around, sl st in first dc at beginning of round to join. (45 dc)

The Products I Used for this Crochet Elf Hat Pattern: I always try to find the best deals and the best quality! However, these prices may change over time.


Yarn

I have used several types of yarn for these crochet elf hats, but Vanna's Choice is a higher-quality yarn. It is soft, and the colors really pop!


Crochet Hook Set

This hook set includes an I/9 which is the hook size I recommend for this pattern. This set of hooks has ergonomic handles, making them really comfortable to hold.


Yarn Scissors

I use this 2-pack of yarn scissors; they both work like a charm. One tip is curved, the other is straight, and they are both small and sharp, which works perfectly for yarn!


Pom-Pom Maker

When I first used this pom-pom maker set, I was shocked at how thick and full my pom-poms were. I give this product a big thumbs up!


CROCHET ELF HAT PATTERN

FOR BABY

RIBBING:

Round 30: Change to the color green, ch 1, sc in each st around, sl st into the first sc at beginning of round to join. (45 sc)

Rounds 31-35: Ch 3, *fpdc in next st, bpdc in next st, repeat from* around, sl st into the beginning of round to join. (45 sts)

Round 36: Ch 1, sc in each st around, sl st into the first sc at beginning of round to join. (45 sc)

Finish off, cut yarn, and weave in all ends.

CROCHET ELF HAT PATTERN

FOR TODDLER

Round 30: Change to the color red, ch 3, dc in next 13 sts, 2 dc in next st, *dc in next 14 sts, 2 dc in next st, repeat from* twice, sl st into first dc at beginning of round to join. (48 dc)

Round 31: Ch 3, dc in each st around, sl st in first dc at beginning of round to join. (48 dc)

Round 32: Change to the color white, ch 3, dc in next 14 sts, 2 dc in next st, *dc in next 15 sts, 2 dc in next st, repeat from* twice, sl st into first dc at beginning of round to join. (51 dc)

Round 33: Ch 3, dc in each st around, sl st in first dc at beginning of round to join. (51 dc)

RIBBING:

Round 34: Change to the color green, ch 1, sc in each st around, sl st into the first sc at beginning of round to join. (51 sc)

Rounds 35-39: Ch 3, *fpdc in next st, bpdc in next st, repeat from* around, sl st into the beginning of round to join. (51 sts)

Round 40: Ch 1, sc in each st around, sl st into the first sc at beginning of round to join. (51 sc)

Finish off, cut yarn, and weave in all ends.

FOR CHILD

Round 30: Change to the color red, ch 3, dc in next 13 sts, 2 dc in next st, *dc in next 14 sts, 2 dc in next st, repeat from* twice, sl st into first dc at beginning of round to join. (48 dc)

Round 31: Ch 3, dc in each st around, sl st in first dc at beginning of round to join. (48 dc)

Round 32: Change to the color white, ch 3, dc in next 6 sts, 2 dc in next st, *dc in next 7 sts, 2 dc in next st, repeat from* 5 times, sl st into first dc at beginning of round to join. (54 dc)

Round 33: Ch 3, dc in next 7 sts, 2 dc in next st, *dc in next 8 sts, 2 dc in next st, repeat from* 5 times, sl st into first dc at beginning of round to join. (60 dc)

Round 34: Change to the color red, ch 3, dc in next 8 sts, 2 dc in next st, *dc in next 9 sts, 2 dc in next st repeat from* 5 times, sl st into first dc at beginning of round to join. (66 dc)

Round 35: Ch 3, dc in each st around, sl st in first dc at beginning of round to join. (66 dc)

Round 36: Change to the color white, ch 3, dc in each st around, sl st in first dc at beginning of round to join. (66 dc)

Round 37: Ch 3, dc in each st around, sl st in first dc at beginning of round to join. (66 dc)

RIBBING:

Round 38: Change to the color green, ch 1, sc in each st around, sl st into the first sc at beginning of round to join. (66 sc)

Rounds 39-43: Ch 3, *fpdc in next st, bpdc in next st, repeat from* around, sl st into the beginning of round to join. (66 sts)

Round 44: Ch 1, sc in each st around, sl st into the first sc at beginning of round to join. (66 sc)

Finish off, cut yarn, and weave in all ends.

CROCHET ELF HAT PATTERN

FOR TEEN/ADULT

Round 30: Change to the color red, ch 3, dc in next 13 sts, 2 dc in next st, *dc in next 14 sts, 2 dc in next st, repeat from* twice, sl st into first dc at beginning of round to join. (48 dc)

Round 31: Ch 3, dc in each st around, sl st in first dc at beginning of round to join. (48 dc)

Round 32: Change to the color white, ch 3, dc in next 14 sts, 2 dc in next st, *dc in next 15 sts, 2 dc in next st, repeat from* twice, sl st into first dc at beginning of round to join. (51 dc)

Round 33: Ch 3, dc in each st around, sl st in first dc at beginning of round to join. (51 dc)

Round 34: Change to the color redch 3, dc in each st around, sl st in first dc at beginning of round to join. (51 dc)

Round 35: Ch 3, dc in each st around, sl st in first dc at beginning of round to join. (51 dc)

Round 36: Change to the color white, ch 3, dc in next 15 sts, 2 dc in next st, *dc in next 16 sts, 2 dc in next st, repeat from* twice, sl st into first dc at beginning of round to join. (54 dc)

Round 37: Ch 3, dc in each st around, sl st in first dc at beginning of round to join. (54 dc)

Round 38: Change to the color redch 3, dc in next 16 sts, 2 dc in next st, *dc in next 17 sts, 2 dc in next st, repeat from* twice, sl st into first dc at beginning of round to join. (57 dc)

Round 39: Ch 3, dc in each st around, sl st in first dc at beginning of round to join. (57 dc)

Round 40: Change to the color whitech 3, dc in next 17 sts, 2 dc in next st, *dc in next 18 sts, 2 dc in next st, repeat from* twice, sl st into first dc at beginning of round to join. (60 dc)

Round 41: Ch 3, dc in each st around, sl st in first dc at beginning of round to join. (60 dc)

Round 42: Change to the color redch 3, dc in next 18 sts, 2 dc in next st, *dc in next 19 sts, 2 dc in next st, repeat from* twice, sl st into first dc at beginning of round to join. (63 dc)

Round 43: Ch 3, dc in each st around, sl st in first dc at beginning of round to join. (63 dc)

Round 44: Change to the color whitech 3, dc in next 19 sts, 2 dc in next st, *dc in next 20 sts, 2 dc in next st, repeat from* twice, sl st into first dc at beginning of round to join. (66 dc)

Round 45: Ch 3, dc in each st around, sl st in first dc at beginning of round to join. (66 dc)

Round 46: Change to the color redch 3, dc in next 20 sts, 2 dc in next st, *dc in next 21 sts, 2 dc in next st, repeat from* twice, sl st into first dc at beginning of round to join. (69 dc)

Round 47: Ch 3, dc in each st around, sl st in first dc at beginning of round to join. (69 dc)

RIBBING:

Round 48: Change to the color green, ch 1, sc in each st around, sl st into the first sc at beginning of round to join. (69 sc)

Rounds 49-53: Ch 3, *fpdc in next st, bpdc in next st, repeat from* around, sl st into the beginning of round to join. (69 sts)

Round 54: Ch 1, sc in each st around, sl st into the first sc at beginning of round to join. (69 sc)

Finish off, cut yarn, and weave in all ends.

FINISHING FOR CROCHET ELF HAT PATTERN:

Sew pom-pom to the top of the hat, and weave in all ends.

HOW TO MAKE POM POM WITH CARD BOARD:

  1. Cut a piece of cardboard that is approximately half the width you’d like your pom-pom to be. The wider the cardboard, the longer each strand of your pom-pom will be. Lie an 8-ish” piece of yarn parallel to your cardboard. This will become your pom-pom’s “belt.”
  2. Wrap your yarn around cardboard. Don’t hold back here. Wrapping too little will result in a wilted-looking pom-pom. If your cardboard is bigger, you’ll also need to wrap more times to give your pom-pom enough poofy-ness.
  3. Continue to wrap until you’ve loaded up your cardboard with a good snuggle of yarn.
  4. Use the short “belt” piece of yarn to tie a tight knot around all of the wrapped yarn. Really synch it down as tightly as you can.
  5. Flip your cardboard over and cut through the middle of all the pieces of wrapped yarn. Keep your pom-pom lying flat and wrap the middle “belt” yarn back around the pom-pom and tie it as tightly as possible one more time.
  6. Fluff your pom-pom and trim all the pieces of yarn to the same length.

HOW TO ATTACH THE POM POM TO THE CROCHET ELF HAT:

  1. Using a tapestry needle and a piece of yarn that’s the same color as your hat (Here with Paddy Green), pull your needle underneath the “belt” of the pom-pom.
  2. Pull the needle through one or two stitches of your hat.
  3. Repeat steps 1 and 2 so that your yarn in wrapped through your pom-pom and your hat twice. Pull the yarn together and tie it in a few knots.

I hope you enjoyed this crochet elf hat pattern!

Copyright: You may make and sell any items made from my patterns, but please make sure to give Crochet Guru credit. Please do not copy this pattern or any of my photos and share them as your own, in part or whole. Instead, give credit and link back to the Crochet Guru Website. I appreciate your understanding! 

Please Remember: You may sell the finished crocheted product. But never sell, copy, publish or claim this pattern or any other pattern you find on this website as your own.

Thank you for visiting my Crochet Elf Hat Pattern page!

Do you want to know when Crochet Guru posts new crochet videos, products, and patterns? Be sure to like Crochet Guru on Facebook and join the Crochet Guru Group! Also follow Crochet Guru on Instagram! Remember to tag Crochet Guru when you post your finished projects on social media! I can't wait to see them!

Have Questions? Join My Crochet Guru Facebook Group!

I hope this article was helpful! If you have any additional questions, feel free to join my Crochet Guru Facebook Group. This group is for you to share pictures, ask questions, and help each other out!